

Ingredients:
1 1/4kg apples, peeled, cored and cut into slices
170g fresh or partially thawed frozen raspberries
3/4 cup granulated sugar
1/4 cup plain flour, plus more for work surface
1 tbsp lemon juice
1 tsp cinnamon
1/2 tsp nutmeg
1/4 tsp ground cloves
Pinch of salt
2 tbsp butter, cut into pieces
1 egg yolk
1 tbsp heavy cream
 For Sweet Shortcrust Pastry (Pate Brisee):
400g unsalted butter, chilled, cut into 1.5cm cubes
1 tbsp vinegar, chilled
100g caster sugar, chilled
2/3 cup water, chilled
665g plain flour, chilled
1 tsp salt
To make the pastry:
1. Remove the butter from the fridge 20mins before you start mixing - the butter should be just soft but still very cold so it doesn't melt through the pastry while mixing.
2. Put the vinegar and sugar in a bowl and add the water, stirring well. Set aside for 10 mins, then stir again to completely dissolve the sugar.
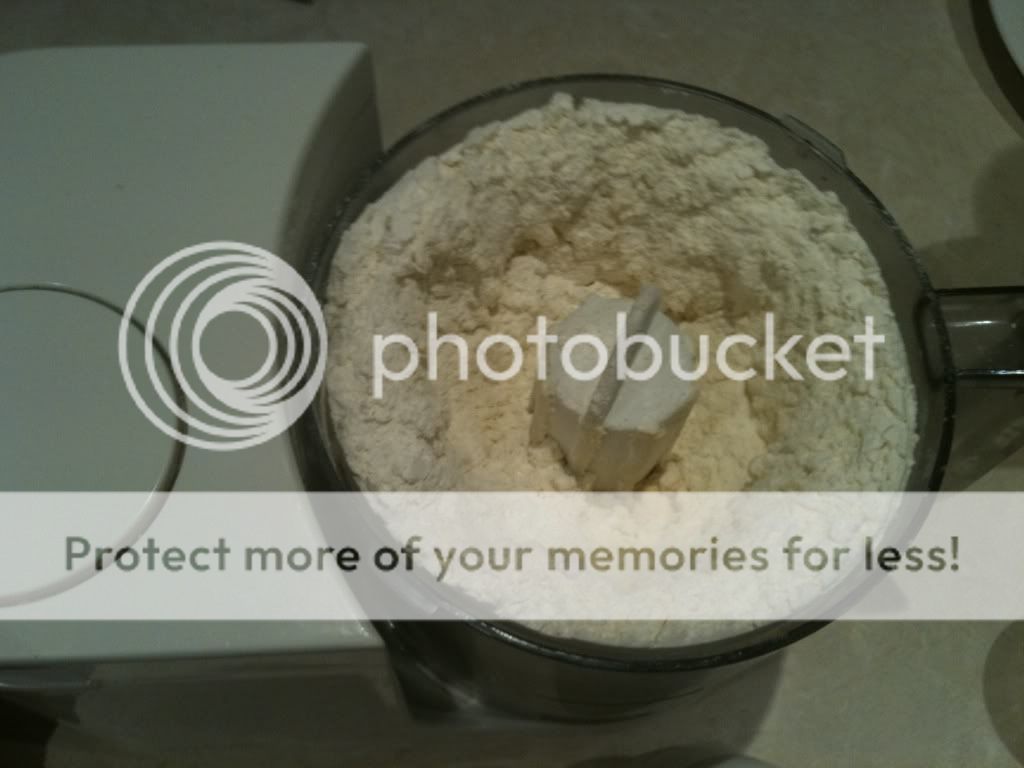
 3. If you are mixing the dough by hand, mix together the flour and salt in a large bowl and toss through the butter. Use your fingertips to rub the butter into the flour to partly combine.
4. If you're using an electric mixer, put the flour and salt in the bowl of the mixer and add the butter, pulsing in 1 second bursts about three or four times to partly combine.
 5. You should now have a floury mix through which you can see squashed pieces of butter. Turn out onto a clean work surface and gather together.
 6. Sprinkle over the sugar mixture and use the palm of your hand to smear this mixture away from you across the work surface (a pastry scraper is a useful tool to use for this step). Gather together again and repeat this smearing process twice more before gathering the dough again. You may need to smear once or twice more to bring it together - you should be able to see streaks of butter marbled through the pastry; this gives a slightly flaky texture to the final product.
7. Divide the dough into two even sized portions and shape into two round, flat discs about 2cm thick. Wrap each disc in plastic wrap and refrigerate for at least 2 hours or overnight.
 8. Remove the pastry from the fridge 20 mins before you wish to roll it. Sprinkle a little flour on the bench and rub a little flour over a rolling pin. Working from the centre of the pastry, gently roll the dough away from you, then turn the dough about 30 degrees and roll out again. Repeat this process until you have a flat round disc, about 3mm thick. Sprinkle extra flour over the bench and rolling pin as needed, but try to use it as sparingly as possible - if too much is absorbed into the pastry it will result in a dough with poor flavour and texture. Bear in mind that you are trying to flatten the pastry into a disc, not ferociously stretch it out in all directions as this will only cause the pastry to shrink excessively when baking.


![Bourke Street Bakery: Ultimate Baking Companion [Paperback]](https://lh3.googleusercontent.com/blogger_img_proxy/AEn0k_tjGg4n4kko9FcTL80-9pJU-dQKiKba6Ele0P89Tgb12ovFQDRXfOGQ3CPuTX7XoEBY7bVg1cBfPdr3DVgZTCw5a0Du1I_0UdG-__nHCJ7LjttIIvoZVibsfW-8JsZcje_92PT4JMXUO7VRl-mX4nHImC6auJRkrkr9peBFXH7PjDbzZdYl5v3JrdA_21wJLECuKxMJbHe6VQusBpCBLUTkspCExEzpER_cO5tzLalr=s0-d)

1 1/4kg apples, peeled, cored and cut into slices
170g fresh or partially thawed frozen raspberries
3/4 cup granulated sugar
1/4 cup plain flour, plus more for work surface
1 tbsp lemon juice
1 tsp cinnamon
1/2 tsp nutmeg
1/4 tsp ground cloves
Pinch of salt
2 tbsp butter, cut into pieces
1 egg yolk
1 tbsp heavy cream

400g unsalted butter, chilled, cut into 1.5cm cubes
1 tbsp vinegar, chilled
100g caster sugar, chilled
2/3 cup water, chilled
665g plain flour, chilled
1 tsp salt
To make the pastry:
1. Remove the butter from the fridge 20mins before you start mixing - the butter should be just soft but still very cold so it doesn't melt through the pastry while mixing.
2. Put the vinegar and sugar in a bowl and add the water, stirring well. Set aside for 10 mins, then stir again to completely dissolve the sugar.

4. If you're using an electric mixer, put the flour and salt in the bowl of the mixer and add the butter, pulsing in 1 second bursts about three or four times to partly combine.

7. Divide the dough into two even sized portions and shape into two round, flat discs about 2cm thick. Wrap each disc in plastic wrap and refrigerate for at least 2 hours or overnight.

9. Transfer the pastry to a tray and place in the refrigerator, covered in plastic wrap, for at least 2 hours to allow the gluten to relax.
10. Brush a round pie tin with a little butter. Place the pastry on top of the pie tin, ensuring it is in the centre and use your fingers to gently push the pastry into the tin, moving around the rim until all of the pastry has been inserted - you should have about 1 cm of dough hanging over the sides. Use your index finger and thumb to work your way around the edge, forcing the pastry into the tin so that little or no pastry is left protruding. Set the pastry (in the tin) aside to rest for at least 20 minutes in the freezer so that the gluten relaxes and holds its shape when you line it with foil.

11. Once the tart has been lined and rested, preheat the oven to 200 degrees Celsius. Line the pastry with a double layer of aluminium foil, making sure the foil is pushed well into the corners. Pour in some baking beads or uncooked rice to fill the case and bake for 20-25 minutes. This is called blind-baking ie. pre-baking the pastry before filling it to ensure the base is crisp and cooked through. The baking time will vary considerably from oven to oven. When cooked properly, the pastry should have a golden colour all over, particularly in the centre, which tends to be the last part to colour and become crisp. The pie shell is now ready to be filled.
To make the pie:
1. Preheat oven to 190 degrees Celsius. Stir apples, raspberries (I used frozen), sugar, flour, lemon juice, cinnamon, nutmeg, ground cloves and salt in a large bowl. Pour into your preprepared pastry shell. Dot with butter.
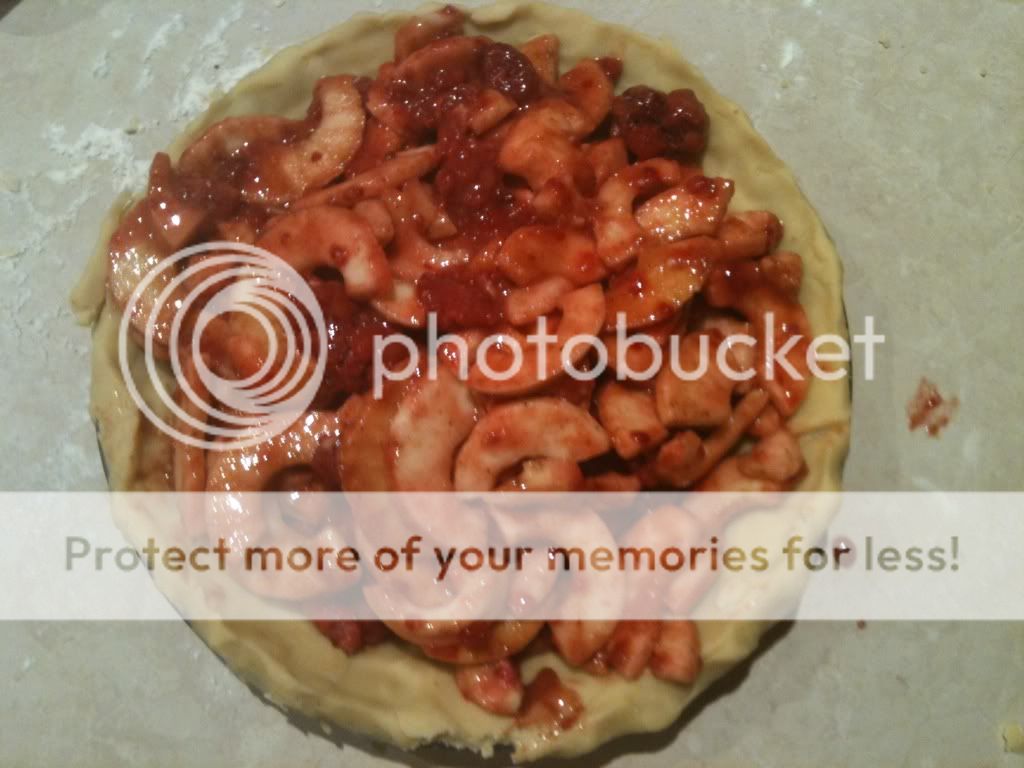
2. On a lightly floured surface, roll out remaining disc of dough to 1/8 inch thick. Cut into a round suitable to the size of your pie shell. Drape over filling. Trim overhang to 1 inch. Press edges to seal. Fold overhang under, and crimp as desired. Make five 3 inch slits in top crust. Refrigerate 20 minutes.

3. Whisk egg yolk and cream in a bowl; brush over top crust. Sprinkle with sugar and cinnamon mix.

4. Bake until crust is golden and juices are bubbling, 1 hour 10 mins to 1 hour 20 mins. Place foil on rack below to catch juices. Tent pie with foil if browning too quickly. Transfer to wire rack.

Recipe Source:
Recipe for Apple Raspberry Pie from the Martha Stewart website.
Recipe for Sweet Shortcrust Pastry (Pate Brisee) from
the Bourke Street Bakery cookbook
No comments:
Post a Comment