Showing posts with label baked explorations cookbook. Show all posts

May 31, 2011

Maple Walnut Cupcakes with Maple Cream Cheese Frosting

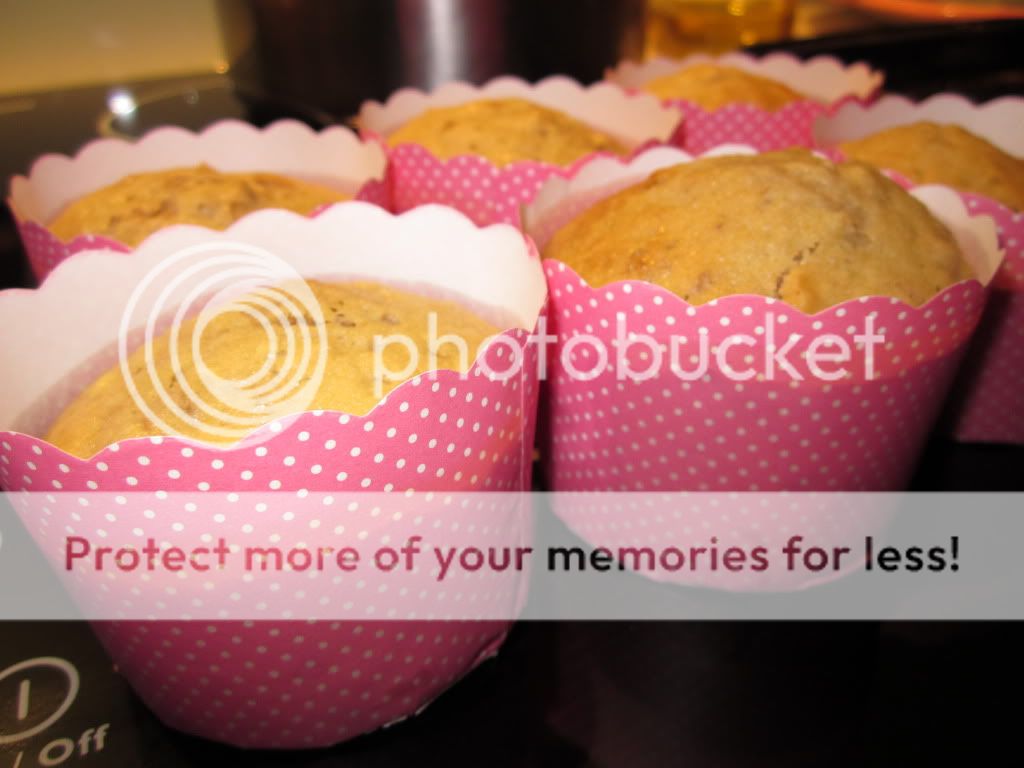
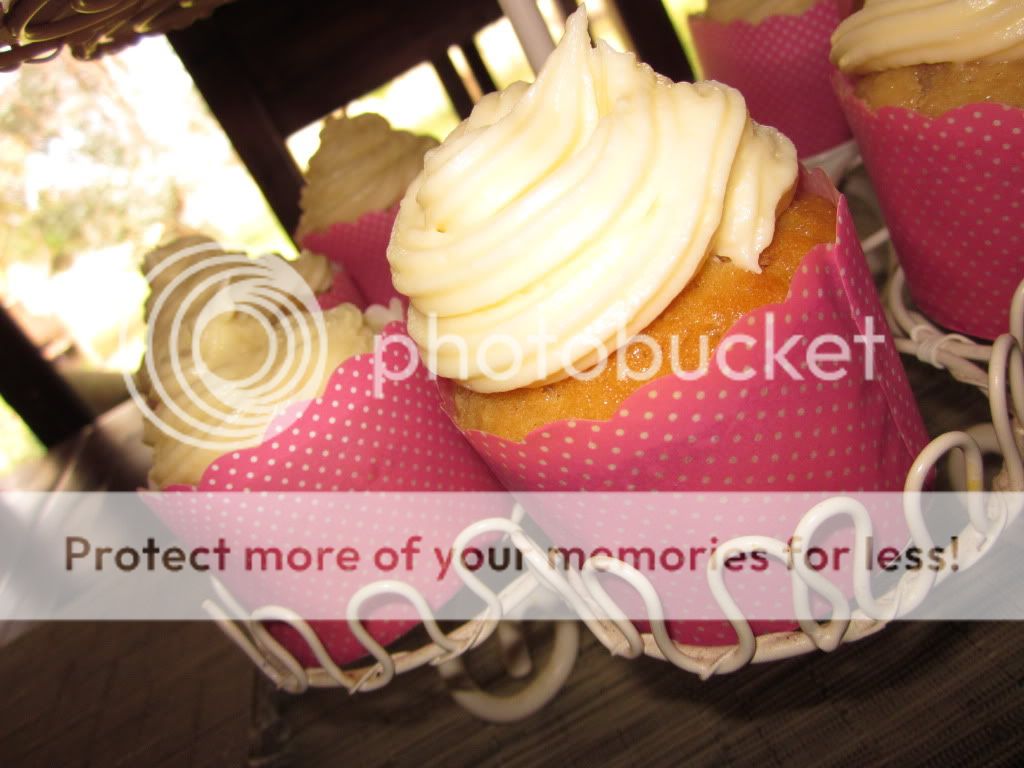
For the past few years for Mothers Day, my sisters and I have put together an afternoon tea for our Mum. We each bring a plate of either sweet or savoury treats (we decide beforehand who will bring sweet or savoury) and spend the afternoon devouring them! This year I was asked to make something sweet so I decided to make a recipe from my Baked Explorations cookbook. I chose this recipe for Maple Cupcakes with maple cream cheese frosting that just looked too good to pass up. And they turned out beautifully too. Not only did they look gorgeous, but they tasted just as good. There was a lovely sweetness from the maple syrup and a nice crunch from the walnuts which I really loved. These are cupcakes I would definitely make again.

Ingredients:
For the Maple Cupcakes
3 cups plain flour
3 tsp baking powder
1 tsp salt
125g butter, slightly softened, cut into chunks
2 tbsp vegetable shortening, at room temperature (I used copha)
2 cups pure maple syrup
3 egg yolks
1 egg
1 1/2 cups milk
1 cup walnuts, toasted and coarsely chopped

For the Cream Cheese Maple Frosting
200g unsalted butter, softened
340g cream cheese, softened
4 cups icing sugar, sifted
2 tbsp maple syrup

Instructions:
1. Preheat the oven to 163 degrees C. Line cupcake pans with paper liners. In a bowl, sift together the flour, baking powder, and salt.
2. In the bowl of a standing mixer, beat the butter and shortening until ribbonlike. Turn the mixer to low and stream in the maple syrup. Increase the speed to medium-high and beat until the mixture is nearly uniform in colour, about 3 minutes.
3. Add the egg yolks and egg, one at a time, and beat until just incorporated. Scrape down the sides and bottom of the bowl.

4. Add half of the flour mixture and mix on low speed until incorporated. Stream in the milk.
5. Stop the mixer, add the rest of the flour, then turn the mixer on until just combined. Scrape down the sides and bottom of the bowl.
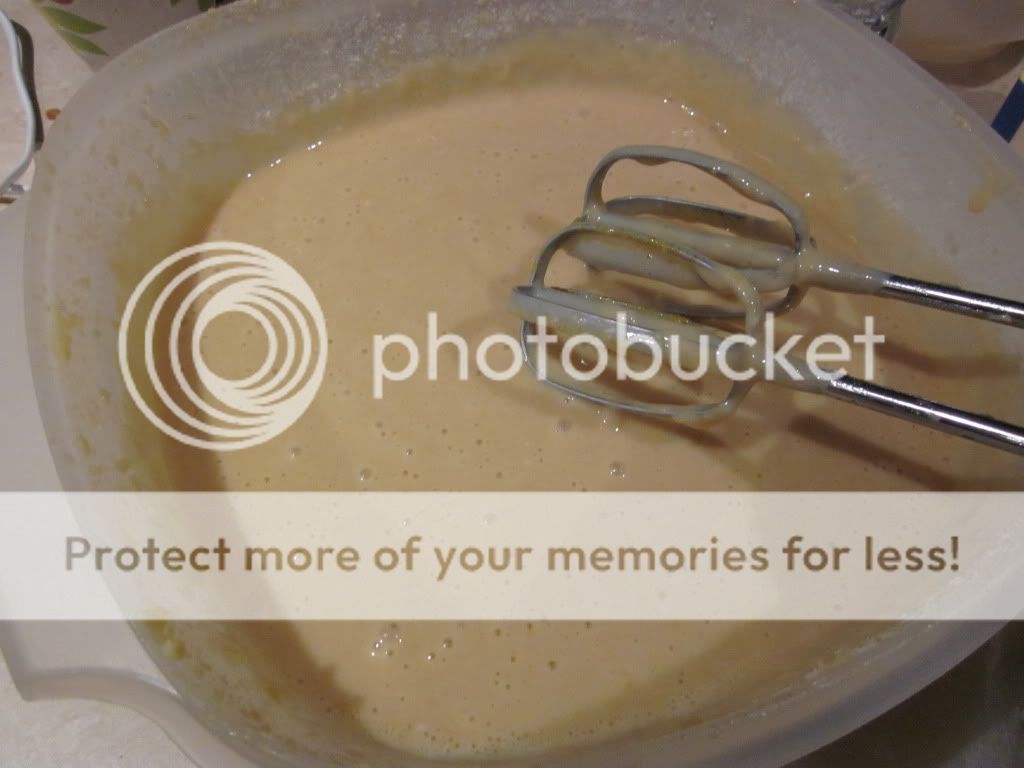
6. Fold in the walnuts.
7. Fill the prepared cupcake pan about 3/4 full. Bake the cupcakes for 20 to 25 minutes, rotating the pans halfway through the baking time, until a skewer or toothpick inserted in the centre of a cupcake comes out clean. (Note: these cupcakes take longer to bake than traditional cupcakes due to the maple syrup)
8. Allow the cupcakes to cool for 15 minutes in the cupcake pan, then turn them out onto wire racks to cool completely.
To make the Cream Cheese Maple Frosting:
In the bowl of a standing mixer, beat the softened butter until it is completely smooth. Add the cream cheese and beat until combined. Add the sugar and the maple syrup and beat until smooth. Be careful not to overbeat the frosting or it will lose structure.
Decorate the cupcakes using a piping bag.
Recipe Source:
Maple Walnut Cupcakes with Maple Cream Cheese Frosting from
Baked Explorations Cookbook: Classic American Desserts Reinvented
Baked Explorations: Classic American Desserts Reinvented

February 10, 2011

Caramel Apple Cake

I bought a cookbook called 'Baked Explorations' by Matt Lewis and Renato Poliafito last year and have been meaning to try one the recipes in it. There's so many amazing looking things in there, but I just never got around to making any of them. The guys who wrote this book are also the co-owners of Brooklyn and Charleston, South Carolina bakery 'Baked' which I'm planning on visiting on my trip to New York later in the year.
It was my Mum's birthday recently and I decided to make her the Caramel Apple Cake from the cookbook. I thought it sounded like a delicious combination and the picture looked very effective and it was! The cake was moist and both it and the icing were delicious! The only downside was that it took quite a while to make (worth it though).
The cake usually has three parts to it (four for me!): the actual cake part, the caramel (and corn syrup for me), and the icing. The cake was really simple to make, however it turned out that I had only two cake tins that were the same size. This meant I had to make two of the cakes at the same time, then once they were out of the oven I was able to cook the third.
For the next step I had to make the corn syrup and the caramel and this is where I struggled.The corn syrup part was okay, although it was hard to tell when it was ready and how thick it should be as I've never cooked with corn syrup before. I was going so well with the caramel, turned my back for a second and when I turned back it had gone a little too dark. I was going to remake it but I needed more cream than I had in the fridge so I had to use what I had. 
Once I'd made the caramel I could make the icing. The caramel goes into the icing to give it it's flavour. I had to mix the icing for it to get a 'light and fluffy' constancy but I just couldn't get it! It seemed too runny to put on the cakes. The recipe told me that if this happened I should put the icing in the fridge for a period of time, then take it back out and mix it again but this didn't seem to work either. It turned out that I had a little bit of cream left over so I whipped that until it was thick and firm and then folded it into the icing. This did dull the flavour a little, but I was happy with the result because it took away the burnt flavour from the caramel and thickened the icing to the right consistency.  
Once I had all the parts of the cake ready I was able to assemble it, on my new platter I'd gotten from IKEA. It all went together quite nicely, although despite one side being straight the other side was on a bit of a lean. By the time I'd finished the icing had softened a little bit so I placed it straight in the fridge and took it out a couple of hours before serving, as recommended. This is a great tasting cake and despite taking a while to make, it's definitely one I plan on cooking again!


Recipe Source: 
'Baked Explorations' by Matt Lewis and Renato Poliafito

share post

Facebook