Showing posts with label cake. Show all posts

June 12, 2014

Tarta de Santiago recipe


I found this recipe in the latest issue of the Gourmet Traveller magazine and thought it would be perfect to make for my Dad's birthday. After all the help he's been giving me with my apartment, and getting things done there it was the least that I could do. I had pretty much no storage in the apartment when it was built, apart from the kitchen cupboards but now I have pantry cupboards, wardrobes and a great cupboard in the bathroom all thanks to Dad :)


The addition of the dulce de leche made it just all the more appealing. Yum! The Tarta de Santiago is traditionally decorated with a fancy cross stenciled in icing sugar, but I thought the heart would mean a bit more to Dad. It looks quite sweet, I think!


March 11, 2014

Starbucks Pumpkin Pound Cake Recipe

I know it's been ages since I mentioned my new apartment but I've finally had an update this week. I was able to see the inside at an inspection held by the real estate agency. It was exciting to be able to see inside (rather than just driving by and trying to see what had been updated all the time), and while I was a little overwhelmed at how small the apartment is, I'm now looking forward to seeing what it will look like once I've moved in. It's going to be an interesting challenge getting that balance between having all that I need in there without it looking cluttered. Here's a sneak peak, I'll post more photos once I'm all moved in and have it decorated the way I want it. Isn't it pretty though?!
What better excuse to do some baking and to try out one of my many pinned recipes on Pinterest? I had a tin of pumpkin purée in the pantry so I thought I'd try out this recipe for Starbuck's Pumpkin Pound Cake. Although apparently this recipe is for a modified and slightly more healthy version of the Starbuck's one it still tastes fantastic. The spices also add a lot of flavour to what's a very dense but moist cake. 
Starbucks Pumpkin Pound Cake
Ingredients:
1 1/2 cup Plain Flour
1/2 tsp Ground Cinnamon
1/2 tsp Salt
1/2 tsp Baking Soda
1/2 tsp Baking Powder
1/4 tsp Ground Cloves
1/4 tsp Ground Nutmeg
1 1/2 cups Sugar
1/2 cup Fat Free Vanilla Yoghurt
3 Egg Whites
1 cup Canned Pumpkin
Instructions:
1. Preheat oven to 180 degrees Celsius. Grease a loaf pan, set aside. 
2. Sift the flour, cinnamon, salt, baking soda, baking powder, cloves and nutmeg into a mixing bowl. Set aside.
3. In a large mixing bowl, combine the sugar, yoghurt and egg whites. Whisk thoroughly until blended. Stir in the pumpkin. Add the dry ingredients to the pumpkin mixture. Stir until completely incorporated.
4. Pour into pan and bake for 60 minutes, or until a skewer inserted comes out clean. Allow to cool on a wire rack.
5. Once cool, drizzle with a glaze or top with cream cheese icing (if desired)
Source: Something Swanky recipe for Starbucks Pumpkin Pound Cake

April 19, 2012

Blueberry Buttermilk Cake with Chocolate Honey Ganache


I wasn't going to post about this cake. To be honest, I'm a bit embarrassed about the way that it turned out. I know people make mistakes with cooking all the time. The above picture makes it look okay, but it looked worse in real life. But really, this blog isn't about gaining perfection (no matter how nice that would be!), it's about trying out new things, or new recipes anyway and posting about my experiences.

I'm not sure exactly what happened - whether there were too many blueberries, or whether the blueberries all sunk to the bottom of the tin for some reason, or whether I had the wrong size/shape tin - but half of the cake ended up sticking to the tin and falling apart. I managed to put it back together, but it wasn't very pretty. Not like the pictures from the blog I got the recipe from - Raspberri Cupcakes. But I must say, it tasted delicious! The cake was moist and lemony and the chocolate honey ganache was very rich and sweet.
The cake was for my sister's baby shower my family was throwing for her. When I say baby shower though, it's very low key and just our immediate family. It's become a little tradition for our family, since none of us sisters are really into the big events that baby showers can turn into these days. Although I must admit the food that usually comes with those events is so adorable. Anyway, I wanted to make something a bit special especially since it's my sister's first. And she deserves it, just for being my amazing, beautiful big sis!
If I was going to point out one thing I'd change about the cake it would probably be to omit the ganache the next time I make it. I'm not sure if I've mentioned this before but despite all the sweet things I love to make, I'm not actually that much of a sweet tooth and I found the ganache to be a little too sweet for me. I think it was just me though - everyone else enjoyed it. :)
Blueberry Buttermilk Cake with Milk Chocolate Honey Ganache
165g softened butter
200g caster sugar
2 eggs
1/2 tsp vanilla bean paste
Rind of 1 lemon
200g plain flour
100g self-raising flour
1/3 tsp bicarbonate of soda
pinch of salt
230ml buttermilk
125g bluberries, fresh or frozen

Ganache
200ml cream
200g milk chocolate
6 tbsp honey
Blueberries to decorate (optional)
Method:
1. Preheat oven to 160C. Grease and flour a bundt pan.
2. In the bowl of an electric mixer beat together the butter and sugar until creamy. Add the eggs one at a time, mixing between each addition, then add vanilla and lemon rind.
3. In a seperate bowl sift together the flours and bicarbonate of soda with a pinch of salt. With the mixer on low speed, add half of the flour mixture and then half of the buttermilk. Repeat with the other half of the flour and buttermilk.
4. Add the blueberries to the mixture, and gently stir in by hand until just combined.
5. Pour the mixture into your prepared cake tin making sure the top is smooth and then bake for 45-50 minutes (or until cake is golden and an inserted skewer comes out clean). Cool in the tin for approximately 10 minutes and then turn out onto a cake rack and cool completely.
6. To prepare the chocolate honey ganache - in a small saucepan over medium heat bring the cream and honey just to the boil. Remove the pan from the heat and add the chocolate to the hot mixture. Leave for a minute to allow chocolate to melt, then stir until the mixture is smooth.
7. Set the ganache aside to cool completely and then chill it in the fridge until cold and thick.
8. To serve, pour the ganache over the top of the cake and decorate with fresh blueberries (if you wish). Serve immediately.
Hmm....do you think someone went a touch overboard with the ganache? Oops! There was a lot of it though - couldn't let it go to waste ;)

Recipe Source:
Blueberry Buttermilk Cake and Chocolate Honey Ganache recipe from

February 1, 2012

Birthdays Galore

I'm not sure about you, but have you noticed that there's usually one time each year where there seems to be an overload of birthdays? December/January is definitely like this for me - both friends and family members celebrate their birthdays during this time - including me! My birthday is on the 19th (in case you were wondering ;) ) and somehow I managed to spread it out over a few days, what with me being disorganised and everyone not being available on the same day. On the night my sister and her family and my parents got pizza and my Mum made one of my favourite desserts - a beautiful lemon meringue pie.

This is a picture of me and my beautiful nephew Archie (his birthday was in December) and I love it. He was very excited about helping me blow out my candle!
And the beautiful bunch of flowers I got from a lady I work with. I also got another bunch which Archie chose, but unfortunately I forgot to take a picture before they wilted. :( They were very pretty though, and I was touched that he'd picked them out!
And what is a birthday without a funny tale to tell! I just know my mum is going to kill me for posting this picture but I just can't help myself. A few days before my birthday I found a beautiful cake that I asked my mum to make for me. The plan was to take it to the picnic all of my family and I were having, and the night before mum had the cake made and it looked very pretty - but the day of the picnic turned out to be very hot and so when we went to open the container to eat the cake this is what we found -
It still tasted delicious - but as one of my sister's joked this was probably 'what Martha wouldn't do'

As I mentioned in my last post, it was my gorgeous nephew Lenny's 1st birthday on Australia Day (January 26) and so of course his mum and I had plenty of baking to do! B was in charge of the most important thing of course - the birthday cake and (as the theme was of course Australia and Australian animals) she decided to make an echidna cake which, as you can see, turned out really well. How cute is it?!
I was in charge of the cupcakes and I made my usual red velvet cupcakes but attempted to make them look like koalas and echidnas. I couldn't find all the bits and pieces that I'd hoped to use to decorate the cupcakes with, but I think they turned out looking pretty cute.
The Koalas. I used cream cheese icing for the background, raspberry bullets for the noses, more cream cheese icing as well as mini choc chips for the eyes and mini pink marshmallows for the ears.
The Echidnas - Chocolate icing for the background, raspberry bullets for the nose, cream cheese icing and choc chips for the eyes and licorice for the spines.
This is the Australia shaped caramel lamington that I made. I had intended to make mini ones using a cookie cutter I found, but they weren't working out. I ended up printing off an A4 map of Australia and using it as a template to cut the cake out with. It's not quite the right shape - and of course Tasmania is way too big. But it looked very effective in real life - btw the Australian flag has been placed where we live.

I also had to share this with you! A friend of mine invited me out to a bar for her birthday this Friday just past. The bar was called The Croft Institute and had a medical theme with lots of medical tools and gadgets everywhere (there was even a hospital bed in the female toilets apparently). I ended up choosing to have a cocktail called Elixir which was served up in a glass and with a syringe acting as the straw! It was a novel way to serve a drink, and fit in very well with the medical theme of the bar.


January 20, 2012

Australia Day

Australia Day is coming up on the 26th of January and I've already started thinking about what I want to make for it. The main reason being, it's actually my beautiful nephew Lenny's 1st birthday that day. Which of course means an Australian themed BBQ party! I've found so many recipes that I want to try but I've been able to narrow it down a bit to the following sweet treats. Aren't they just so clever and cute?! I'll post the recipes once I've made them and let you know how they went.

Caramel Laminton from Not Quite Nigella
 Koala Cupcakes from Blempgorf
Echidna Cupcakes from Yahoo Food


November 24, 2011

Coconut Cake with Lemon Sour Cream Icing

It was a colleagues birthday last week and as a treat I decided to make him a cake. I'd planned on making him a chocolate cake, since I remember him saying he loved that, in the past. However, when I mentioned 'mysteriously' to him a couple of days before that I had to make a cake for someone, he asked 'what kind?' to which I replied 'chocolate'. He thought for a moment before saying 'what about a coconut cake?' Now, I'd heard of making icing with coconut, or sprinkling it on top of a cake - but I've never actually had a coconut cake. I went to my safety net - Google - and was surprised to see how many cakes instantly came up. I decided on this Lemon Coconut Cake from Taste,  as it sounded simple enough, but I thought the lemon would add a bit more flavour. My colleague loved the cake by the way - well I assumed so by all the 'hmmm mmmm' noises he was making!

Ingredients:
125g butter, softened
1 cup caster sugar
1 large lemon, rind finely grated
2 eggs, lightly beaten
1 1/2 cups self-raising flour, sifted
1 cup milk
1/2 cup desiccated coconut

Method:
1. Preheat oven to 180°C. Grease a loaf pan and line base and sides with baking paper, allowing a little to overhang at both long ends.
2. Using an electric mixer, beat butter until light and fluffy. Add sugar, 1 tbsp at a time, beating until sugar is dissolved.

3. Add lemon rind and half the egg. Beat well. Add remaining egg and beat until well combined.
4. Using a large spoon, gently stir flour, milk and coconut into butter mixture.
5. Spoon mixture into prepared loaf pan. Smooth surface.
6. Bake for 50 minutes or until a skewer inserted into the centre comes out clean. Allow cake to cool a little in the pan before turning it out onto a wire rack to cool completely.
Lemon Icing:
1 1/2 cups icing sugar
1/4 cup sour cream
1 lemon, rind finely grated
1. Sift icing sugar into a bowl. Add sour cream and lemon rind. Stir until well combined. Pour icing over cake. Allow to set.
Recipe Source:
Taste website's Coconut Cake with Lemon Sour Cream Icing

Coconut Cake with Lemon Sour Cream Icing


Ingredients:
125g butter, softened
1 cup caster sugar
1 large lemon, rind finely grated
2 eggs, lightly beaten
1 1/2 cups self-raising flour, sifted
1 cup milk
1/2 cup desiccated coconut

Lemon sour cream icing:
1 1/2 cups icing sugar mixture
1/4 cup sour cream
1 lemon, rind finely grated

Method:

1. Preheat oven to 180°C. Grease a loaf pan and line base and sides with baking paper, allowing a little to overhang at both long ends.
2. Using an electric mixer, beat butter until light and fluffy. Add sugar, 1 tbsp at a time, beating until sugar is dissolved.
3. Add lemon rind and half the egg. Beat well. Add remaining egg and beat until well combined.
4.  Using a large metal spoon, gently stir flour, milk and coconut into butter mixture.
5. Spoon mixture into prepared loaf pan. Smooth surface.
6. Bake for 50 minutes or until a skewer inserted into the centre comes out clean. Allow cake to cool a little in the pan before turning it out onto a wire rack to cool completely.
7. Make lemon icing: Sift icing sugar into a bowl. Add sour cream and lemon rind. Stir until well combined. Pour icing over cake. Allow to set. Serve.

February 10, 2011

Caramel Apple Cake

I bought a cookbook called 'Baked Explorations' by Matt Lewis and Renato Poliafito last year and have been meaning to try one the recipes in it. There's so many amazing looking things in there, but I just never got around to making any of them. The guys who wrote this book are also the co-owners of Brooklyn and Charleston, South Carolina bakery 'Baked' which I'm planning on visiting on my trip to New York later in the year.
It was my Mum's birthday recently and I decided to make her the Caramel Apple Cake from the cookbook. I thought it sounded like a delicious combination and the picture looked very effective and it was! The cake was moist and both it and the icing were delicious! The only downside was that it took quite a while to make (worth it though).
The cake usually has three parts to it (four for me!): the actual cake part, the caramel (and corn syrup for me), and the icing. The cake was really simple to make, however it turned out that I had only two cake tins that were the same size. This meant I had to make two of the cakes at the same time, then once they were out of the oven I was able to cook the third.
For the next step I had to make the corn syrup and the caramel and this is where I struggled.The corn syrup part was okay, although it was hard to tell when it was ready and how thick it should be as I've never cooked with corn syrup before. I was going so well with the caramel, turned my back for a second and when I turned back it had gone a little too dark. I was going to remake it but I needed more cream than I had in the fridge so I had to use what I had. 
Once I'd made the caramel I could make the icing. The caramel goes into the icing to give it it's flavour. I had to mix the icing for it to get a 'light and fluffy' constancy but I just couldn't get it! It seemed too runny to put on the cakes. The recipe told me that if this happened I should put the icing in the fridge for a period of time, then take it back out and mix it again but this didn't seem to work either. It turned out that I had a little bit of cream left over so I whipped that until it was thick and firm and then folded it into the icing. This did dull the flavour a little, but I was happy with the result because it took away the burnt flavour from the caramel and thickened the icing to the right consistency.  
Once I had all the parts of the cake ready I was able to assemble it, on my new platter I'd gotten from IKEA. It all went together quite nicely, although despite one side being straight the other side was on a bit of a lean. By the time I'd finished the icing had softened a little bit so I placed it straight in the fridge and took it out a couple of hours before serving, as recommended. This is a great tasting cake and despite taking a while to make, it's definitely one I plan on cooking again!


Recipe Source: 
'Baked Explorations' by Matt Lewis and Renato Poliafito

January 18, 2011

The Gifted Garden, Gisborne

My Mum and I decided to go out for lunch today. I'd been moping around the house for the past couple of days and decided I just had to get out! So we headed into Gisborne, a small country town about 10 minutes drive from our place to The Gifted Garden. The Gifted Garden is a house which has been converted into shop which sells all different types of cute products, garden related as well as other housey related gifts. They do also have a small cafe in one of the front rooms and you can choose to sit inside, or out the front amongst the garden products. It was a little chilly today so we chose our food and sat in one of the front rooms inside.

January 11, 2011

One-bowl Chocolate Cake

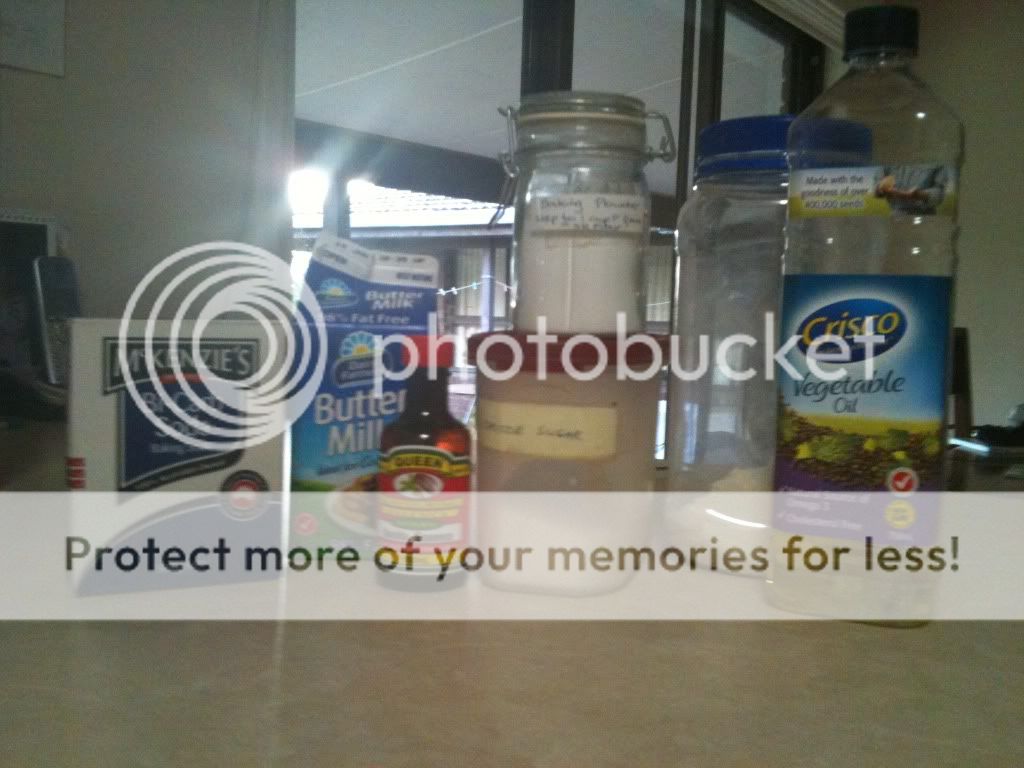
It was my brother-in-laws birthday a couple of days after New Years Eve. The night before (at about 9pm and still a little wiped out from the night before) I sent a text off to my sister asking her whether she had a cake organised or whether she wanted me to 'whip something up'. I got a text back saying 'That'd be great, he loves chocolate!' I started scrolling through the chocolate cake recipes on the Martha Stewart website and came upon the One-Bowl Chocolate Cake which looked lovely, and I thought I should have all the ingredients to go in it. Yes, folks, should is a great word isn't it?! It turned out that we were completely out of eggs! This coming from the girl who has half a dozen chickens out the back. Plus we had none of the ingredients for the icing! Luckily enough my other sister came to the rescue - they had tonnes of eggs. So I decided to pick up the ingredients for the icing on my way in and just finish baking the cake at her place. So for me, this cake ended up being a two bowl cake rather than the promised one bowl, as I thought I should prepare the wet and dry ingredients that I had and take them separately.
These are just the ingredients I did actually have. The recipe also asked for something called safflower oil, which we didn't have so I substituted it for vegetable oil.
Ingredients:
unsalted butter, softened, for pans
3/4 cup unsweetened Dutch cocoa powder, plus more for pans
1 1/2 cups plain flour
1 1/2 cups sugar
1 1/2 tsp baking soda
3/4 tsp baking powder
3/4 tsp salt
2 large eggs
3/4 cup buttermilk
3/4 cup warm water
3 tbsp vegetable oil (original recipe calls for safflower oil)
1 tsp vanilla
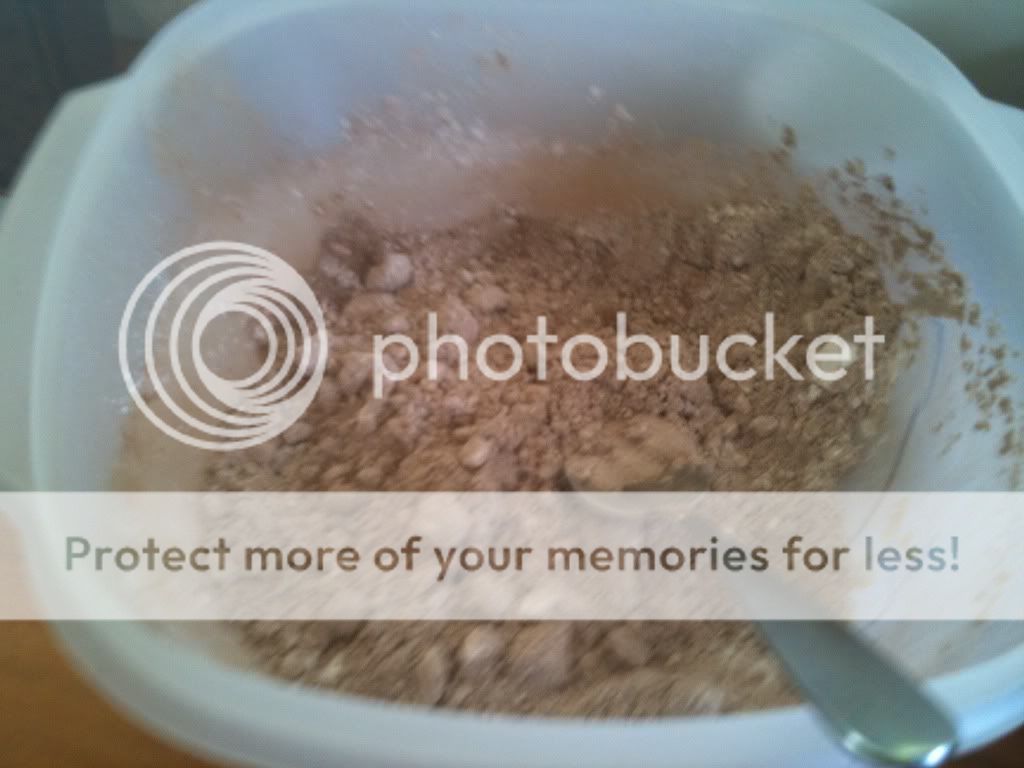
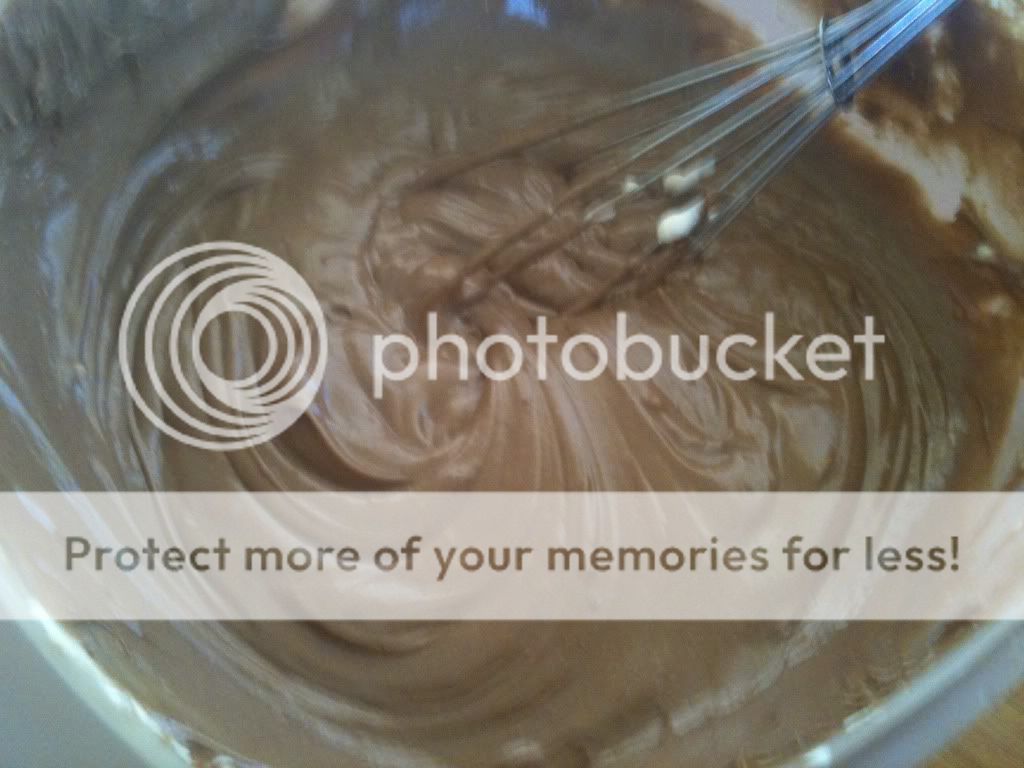
1. Preheat oven to 180 degrees. Butter two round cake pans (2 inches deep); dust with cocoa. Sift cocoa, flour, sugar, baking soda, baking powder, and salt into the bowl of a mixer. Beat on low speed until just combined. Raise speed to medium, and add eggs, buttermilk, water, oil and vanilla. Beat until smooth, about 3 minutes.
2. Divide batter between pans. Bake until set and a toothpick inserted into the centres comes out clean, about 35 minutes. Let cool for 15 minutes. Turn out from pans. Transfer, faceup, to wire racks. Let cool completely.
3. Spread 2 cups chocolate icing onto top of 1 cooled layer. Top with remaining layer; frost top and sides with remaining 2 cups icing.

Icing Ingredients:
2 1/4 cups icing sugar
1/4 cup cocoa powder
Pinch of salt
170g cream cheese, room temperature
190g unsalted butter, softened
255g bittersweet chocolate, melted and cooled slightly
3/4 cup creme fraiche or sour cream
1. Sift together sugar, cocoa and salt.
2. Beat cream cheese and butter with a mixer on medium-high speed until smooth. Reduce speed to medium-low; gradually add sugar-cocoa mixture, and beat until combined. Pour in chocolate in a slow, steady stream. Add creme fraiche; beat until combined.
This is the first half of the cake covered. I found that the amount of mixture made two quite thin cakes, so you could probably put all the mixture in and just make one bigger cake if you want to. I also had a LOT of icing, really more than I needed for the one cake I felt. I had enough left over that I was able to make another of these cakes a couple of days later and there was enough to cover that one too. 
A note for all of you who want to make this cake, make sure you either put the icing in the fridge before you put it on the cake, or once you've put the icing on the cake give it some fridge time. We had to drive to my sister's house as soon as I'd finished putting the icing on, so not only was I in a bit of a hurry, the icing was far too soft, as you can see in the picture above. I literally had to sit in the car holding the top layer of the cake in place because it kept going to slide off! That was definitely a long car ride! Once we got to my sister's house though, I was able to put the cake in the fridge and it all set quite nicely. I took it back out after the icing was a bit more solid and smoothed it down a touch. Here's a picture of the finished product (please excuse the messy plate and the rushed icing job)
This was a wonderful, moist and delicious cake that was really easy to make. I definitely recommend it for anyone, and I can see myself cooking it again in the future. I particularly loved (OMG LOVED!!) the icing! That was the best part of the cake and I found myself, 'tasting' the leftovers every now and then just to 'check they were still okay. ;) 

January 9, 2011

2 Shaped Road cake in White Chocolate Mud

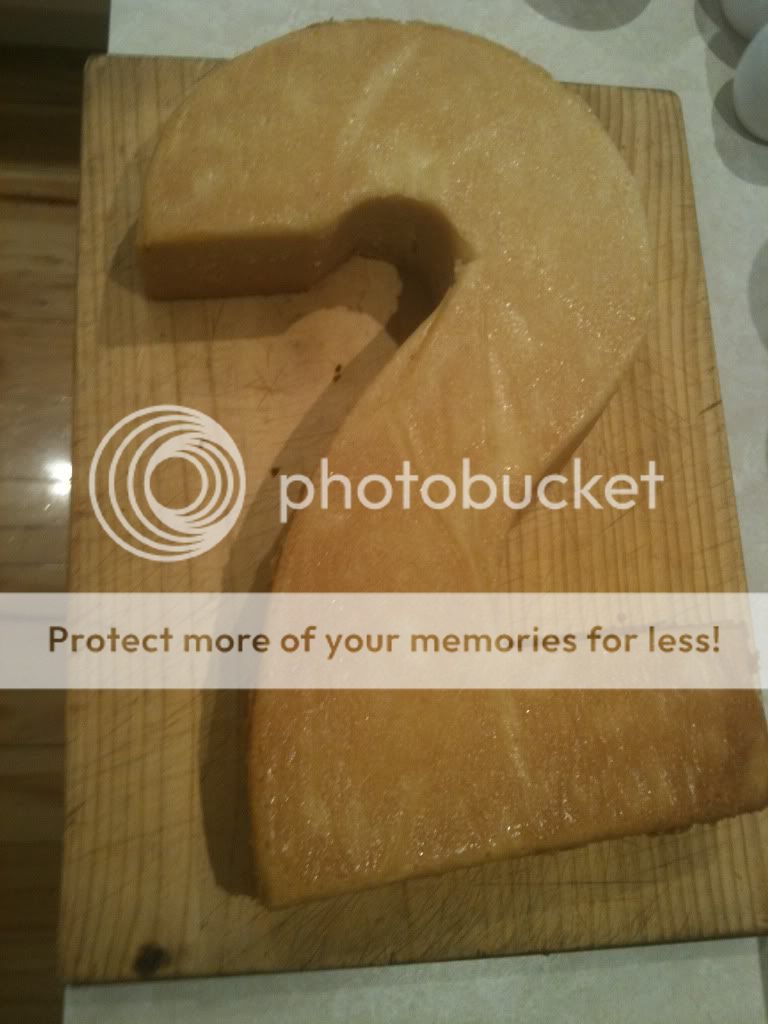
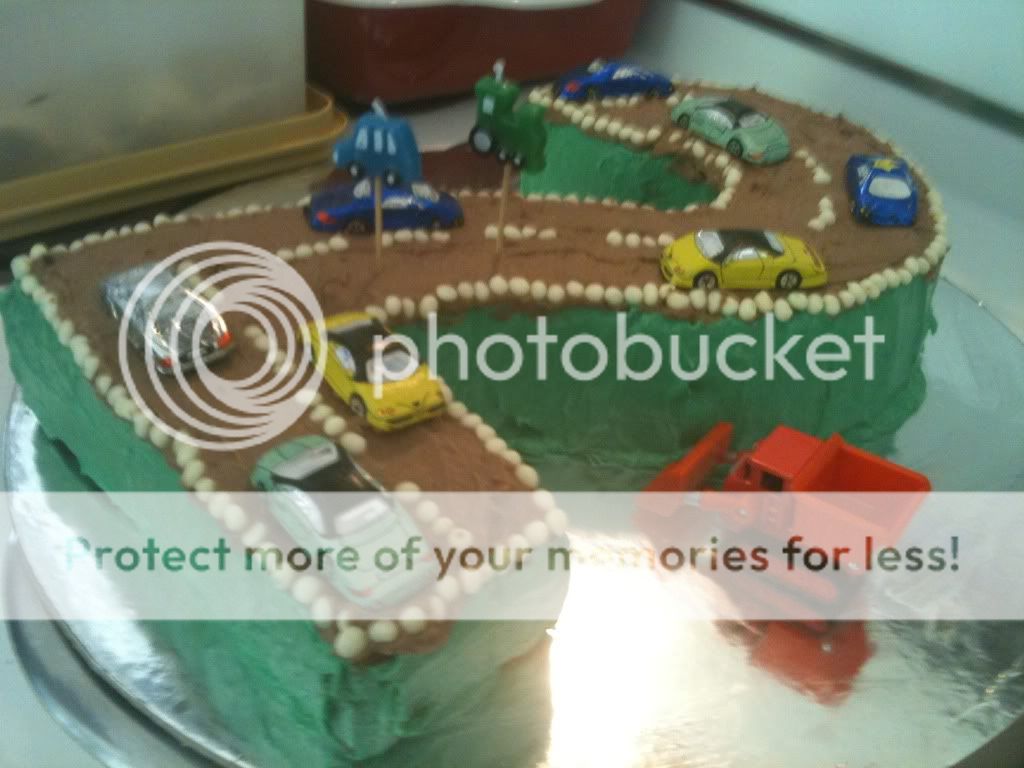
After I'd made my sister the Rainbow Cake for her birthday she requested that I make one for my nephew's birthday which was at the end of the month. In the shape of a 2. I nervously agreed, while trying to figure out in my head how I'd manage to spread each layer into the 2 shaped tin. It turned out I didn't have to worry that much in the end. A couple of days before the event my sister changed her mind. She was worried about all the food colouring that goes into that cake, and the effect it would have on a bunch of kids. So we decided that I'd make the White Chocolate Mud Cake her friend had introduced us to a few days before. This has to have been the best white chocolate mud cake I've ever tasted. Usually I find them too dense, but this cake was so soft and light.

Ingredients:
180g white chocolate
350g unsalted butter chopped
2 2/3 cups caster sugar
1 1/2 cups milk
2 cups plain flour
2/3 cup self-raising flour
1 tsp vanilla
3 eggs
1. Preheat oven to 160 degrees Celsius (140 degrees, fan forced oven) Grease a deep 22cm round cake pan; line base with baking paper
2. Combine chocolate, butter, sugar and milk in large saucepan; stir over low heat until smooth. Pour mixture into a large bowl; cool for 15 minutes.
3. Whisk in sifted flours, extract and eggs. Pour mixture into pan. Bake for about 1 hour and 45 minutes. Cool in cake pan.
The icing suggested for this cake is a simple white chocolate ganache, which is a mixture of melted white chocolate and cream. I decided to choose a different icing though, and went with another one that I'd made for some cupcakes in the past. It was still white chocolate based, but a little bit more special, I think.
Ingredients:
395g white chocolate, chopped
340g cream cheese, at room temperature, cut into small pieces
170g unsalted butter, at room temperature, cut into small pieces
1. In a double boiler, melt the white chocolate, stirring constantly, until smooth and creamy, 2 to 3 minutes. Let stand until just warm to the touch.
2. In a large bowl, using an electric mixer, beat the cream cheese and butter on medium-high speed until smooth and blended.
3. Add the melted chocolate, and beat again until smooth. Use frosting immediately, colouring it as desired.
I split the icing into two batches, one a little bigger than the other, and coloured one green, using food colouring, and the other brown, using cocoa. My sister had requested that I make the cake look like a road, and we'd brought some chocolate cars for the top of the cake too. To do this I first spread the green icing all over the sides of the cake, to create a grassy effect. I then spread the chocolate icing over the top of the cake to create the road. I had found some tiny white chocolate buds at the local lolly shop, which I used to create the lines on the road and to create a border around the top of the cake, almost like the outer lines on the road.
Once we got the cake to my sister's house later on, we were able to decorate the cake with our chocolate cars, Archie's favourite digger on the side and some makeshift road signs. My sister had also found some really cute candles with cars and trains which we also placed on top of the cake. I was really happy with how it turned out, and I must say that the cake got so many compliments on the day.

share post

Facebook