Showing posts with label dinner. Show all posts

January 23, 2014

Dinner at the Union Hotel, Brunswick

Before going to I, Animal at Melbourne Zoo the other night, I took my friends out for dinner to the Union Hotel in Brunswick. It's one of those cute neighbourhood pubs that does fantastic food. My older sister Danielle introduced me to it a while ago and our family has been there for dinner a few times since then. My friends and I sat out in a garden at the back of the pub which was really lovely.
It's a really nice area that would be great to spend hanging out with some friends and having a drink and some nibblies on a warm day. While we were there there was a band playing inside which we could hear from where we were sitting. It was so nice sitting out there, enjoying an cider (thanks to my beautiful friend Steph) and the music.
I'm one of those girls who loves eating red meat (this seems rare to me - I'm not sure if any of you find that?) At the Union Hotel I ordered myself a scotch fillet which came with mashed potato and steamed vegies. That steak was just amazing, it was so so tender and beautifully cooked.
It's a really great little pub, and I'm really looking forward to heading back there with my friends, especially once I live down that way.

April 28, 2013

Maple Mustard Chicken (aka Man Pleasing Chicken)

I have a confession to make. I've been keeping something from you. One of the best recipes I've made, and now one of my favourite meals to make. It wasn't on purpose! Honestly! I've been making this chicken dish for a year or so now, and it's delicious. I get compliments every time I make it and it's just so so easy. It's just that every time that I make it I take photos all the way through and then once it's done....no photo. So I haven't been able to do a blog post on it yet. But I've finally remembered to get those final photos. Here goes!
To make this chicken, which you should absolutely do immediately, preheat your oven to 230ºCThen, mix together 1/2 cup of dijon mustard, 1/4 cup of maple syrup, and 1 tablespoon of rice wine vinegar. 
Put your chicken fillets in a foil-lined oven proof baking dish. I find that boneless, skinless thighs work best. Eight came in my package - but 2 per serve is usually enough. Sprinkle your chicken thighs with salt and pepper (I always forget that part. Oops!)  
Pour your maple mustard mixture over them, turning the thighs in the mixture so they are fully coated. 
Put the chicken thighs into the oven, and let them bake for 20 minutes. Remove from the oven and baste the chicken with more of the sauce.
Return the thighs back into the oven and let them bake for another 20 minutes or until a meat thermometer reads 75C (or 165F). 
Let the chicken rest for five minutes before serving. Make sure to spoon extra sauce over the top when serving the chicken. Sprinkle over some fresh rosemary.
Maple Mustard Chicken
1/2 cup of dijon mustard
1/4 cup of maple syrup
1 tbsp of rice wine vinegar. 
Boneless & skinless chicken thigh fillets (approx 2 per person)

1. 
To make this chicken, which you should absolutely do immediately, preheat your oven to 230ºCThen, mix together 1/2 cup of dijon mustard, 1/4 cup of maple syrup, and 1 tablespoon of rice wine vinegar. 
2. Put your chicken fillets in a foil-lined oven proof baking dish. Sprinkle your chicken thighs with salt and pepper.
3. Pour your maple mustard mixture over them, turning the thighs in the mixture so they are fully coated. 
4. Put the chicken thighs into the oven, and let them bake for 20 minutes. Remove from the oven and baste the chicken with more of the sauce.
5. Return the thighs back into the oven and let them bake for another 20 minutes or until a meat thermometer reads 75C (or 165F). 
6, Let the chicken rest for five minutes before serving. Make sure to spoon extra sauce over the top when serving the chicken. Sprinkle over some fresh rosemary.

Recipe Source:
Witty in the City's recipe for
Man Pleasing Chicken

January 11, 2012

Individual Chicken, Leek & Mushroom Pies

I know! It's amazing right? I'm actually posting a recipe for something savoury. It might surprise you to find out that I actually do cook most of the evening meals for my family, it's just that most of them don't seem postable - whether it's because the photos would come out too ugly or because I just think they're too boring. Every now and then, though, I like to try a new recipe that I'm proud to share with you lovely readers. And this recipe, that I found on Jane Kennedy's app 'OMG I can eat that?', is one of those. It is a low carb version of the chicken, leek and mushroom pie, which I know is never the same as a good old fashioned pie with flaky pastry, but it still turned out to be a delicious meal.
You see, readers, I'm actually trying to 'be good' at the moment. I've put on a lot of weight over the last year and it's really time that I did something about it. Not because I want to be a stick thin model or anything, but I just feel like I have to do this for me. I will still be posting lots of sweet treats in the future (they might just be for other people - not me), but they might be mixed in with more healthy meals, like this, as well.

To make the crust:
1 small zucchini, peeled and grated
1 egg, beaten
50g light mozzarella cheese, grated
50g parmesan cheese, grated
Preheat the oven to 180C and line a baking tray with paper. Trace circles onto the baking paper using a ramekin - trace a circle for each ramekin. In a bowl combine the zucchini, egg and mozzarella cheese. Spread this mixture onto the baking paper, using your traced circles as a guideline for the correct size and shape.
Bake the zucchini lids in your oven for about 20 minutes, or until they start to change colour. Once you remove them from the oven allow to cool on the baking tray.
Leave your oven at 180C so you can cook the pies later on.
To make the pie filling:
1tbsp olive oil
2 small skinless chicken fillets, cut into cubes
2 cloves garlic
2 leeks, finely sliced
12 mushrooms, sliced
1 sprig thyme, finely chopped
1 sprig rosemary, finely chopped
sea salt and freshly ground pepper
2 tbsp greek yoghurt
Heat the olive oil in a frying pan and cook the chicken pieces for about 5-6 minutes. Once cooked, remove the chicken from the frying pan with a slotted spoon, leaving the juices in the pan, and set aside
Add the garlic and leeks to the pan, and cook for about 5 minutes. Make sure the leeks and garlic don't brown too much.
Add the mushroom slices, thyme (I only had dried thyme, not fresh, but I found this was fine to use), rosemary, sea salt and pepper and cook for another 6-8 minutes. Then stir in the yoghurt.
Divide the mixture between your ramekins - I was only serving three people so I squished my mixture in a little bit so it would fit into my three ramekins - and top each pie with a zucchini lid. Sprinkle the lid with parmesan cheese and bake for about 10-12 minutes - or until brown and bubbling (hmmm!!)
Warning - your house will be left with the most delicious smell. You'll want more pie even after you're finished - or maybe it's just because I'm greedy ;)

Recipe Source:
Jane Kennedy's app: OMG I can eat that?
recipe for Chicken, Leek and Mushroom piemakins

Individual Chicken, Leek & Mushroom Pies


Zucchini crust:

1 small zucchini, peeled and grated
1 egg, beaten
50g light mozzarella cheese, grated
50g parmesan cheese, grated


1. Preheat the oven to 180C
2. Line a baking tray with baking paper
3. To make the zucchini crust, combine the zucchini, egg and mozzarella cheese in a bowl
4. Spread this mixture onto the baking paper, making circles in the shape of a pie lid - to do this I traced around my ramekins to get the correct shape and size.

5. Bake for about 20 minutes, or just until the zucchini crust starts to change colour
6. Remove from the oven and leave on the baking paper to cool.


Pie Filling:

2 small skinless chicken fillets, cut into cubes
2 cloves garlic
2 leeks, finely sliced
12 mushrooms, sliced
1 sprig thyme, finely chopped
1 sprig rosemary, finely chopped
sea salt and freshly ground pepper
2 tbsp greek yoghurt

1. Preheat the oven to 180C
2. Heat the olive oil in a frying pan over medium heat and cook the chicken pieces for about 5-6 minutes
3. Remove the chicken with a slotted spoon, leaving the juices in the pan, and set aside.
4. Add the garlic and leeks to the pan. Saute for about 5 minutes, stirring constantly and making sure leeks and garlic don't brown too much.
5. Add the mushrooms, thyme, rosemary, sea salt and pepper and cook for another 6-8 minutes.
6. Stir in the yoghurt
7. Divide the mixture between your ramekins and top each one with a zucchini lid. Sprinkle the lid with parmesan cheese and bake for about 10-12 minutes, or until brown and blubbling
8. Serve immediately.


September 2, 2011

Turkey Burgers

I'm so glad that the weather is finally starting to warm up here in Australia. I love the warmer months, and as I've mentioned in previous posts, can't stand the cold. One thing that I love about an Australian summer is the great food we get to eat. On a reasonably warm day recently, I decided that it was time to start bringing out the 'warmer weather' recipes, however I wanted to try something different. I found a slideshow for burgers and sliders on Martha Stewart's website and picked this Turkey Burger recipe to try. I've been wanting to experiment with turkey mince for a while now, so this seemed like the perfect recipe to start off with.
Ingredients:
  • 1 cup panko breadcrumbs (or normal breadcrumbs)
  • 500g turkey mince
  • 1/2 cup lite sour cream
  • 4 tbsp mango chutney
  • 2 tbsp dijon mustard
  • 1 tsp chili powder (the recipe called for 1tbsp but you can adjust this to the amount you want)
  • Coarse salt
  • 4 hamburger buns, or bread (toasted if you wish)
  • Lettuce leaves
  • Tomato, sliced
  • Swiss Cheese slices
1. In a medium bowl, mix together turkey mince, breadcrumbs, sour cream, 3 tbsp chutney, 1 tbsp mustard, chilli powder, and 1 tsp salt.

2. Shape into four large round patties. (I needed a smaller one for my 2 year old nephew. How cute is it?!)
3. To cook, heat oven grill with the rack set 4 inches from heat. Place burgers on a baking sheet and grill until firm and cooked through, for about 5 minutes each side. (alternatively you can also fry them or BBQ them if you wish)
4. Place cooked burgers on pre-prepared burger buns or bread. Top with lettuce, tomato and swiss cheese. Stir together 1 tbsp each of chutney and mustard, and spread on the top half of the burger bun/bread, or serve alongside burgers.
Note: If you wish to freeze the burgers, wrap each one individually before placing them in the freezer. The burgers will keep for up to 2 months.
Recipe Source:
Adapted (only slightly) from the Turkey Burger Recipe on Martha Stewart's website.

June 22, 2011

Chicken and Sweet Corn Soup

I'm definitely more of a spring/summer person. I have a feeling it may have something to do with me being born in the middle of summer. I can't stand the cold weather, with it's grey clouds and rain and wind. I find it so much easier to cool down in summer than I do to warm up in winter. I think it would almost be worth the coldness if it were to snow here every now and then. But it doesn't. What I do love about winter though is all the comfort food you get to eat. The hot steamy bowls of soup with crusty bread, warm casseroles straight out of the oven and snuggling up on the couch under a blanket, with my heat pack, a coffee and a good book. This soup, which I first tried a few years ago and that I found in an old Chinese cookbook of my Mums is perfect for this time of year. If you make your own stock, it can be a little time consuming, but it's worth the wait and very easy to make.
Ingredients:
1kg chicken
2 litres water
2.5cm piece green ginger/1 tsp minced ginger
1 onion, peeled and quartered
4 peppercorns
3 tsp parsley
1 tsp salt
470g can creamed corn
salt, pepper
2 chicken stock cubes
1 tsp sesame oil
4 tbsp cornflour
4 tbsp water
2 egg whites
2 tbsp water, extra
2 slices ham
1/2 tsp ginger, extra
Method:
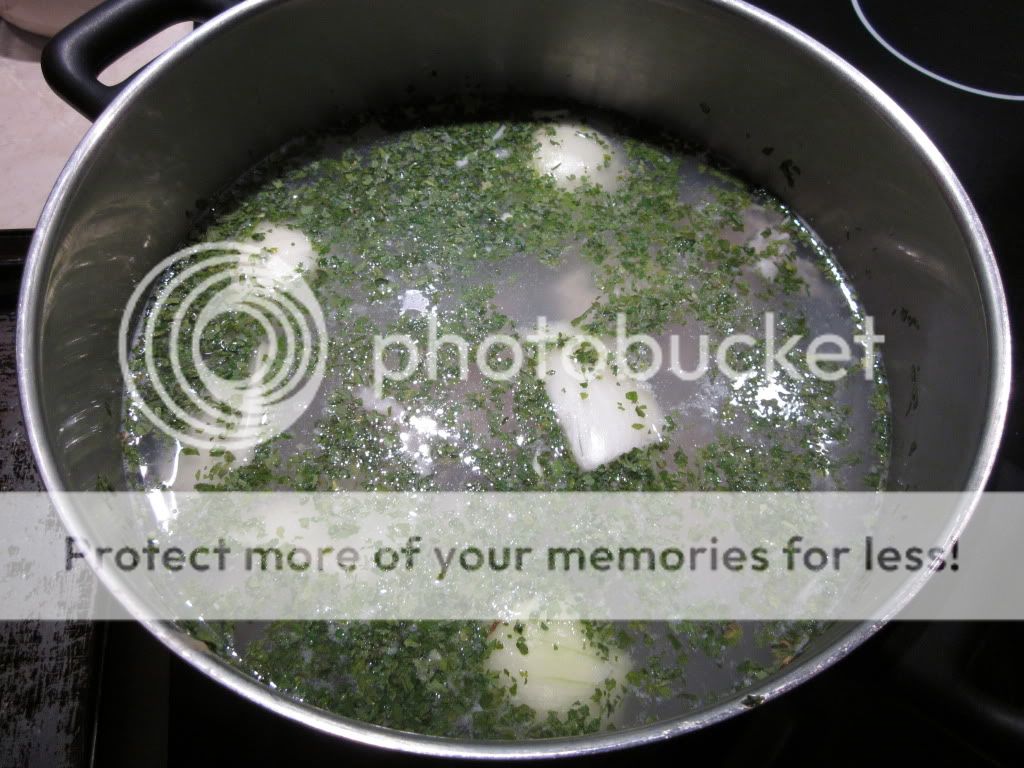
1. Put chicken, or chicken pieces into a large saucepan, add water, peppercorns, ginger, onion, parsley and salt. Bring to a boil over medium heat, then reduce heat and simmer gently, covered, for one and a half hours.
2. Remove stock from the heat. Strain stock into a bowl and put both it, and the chicken aside.
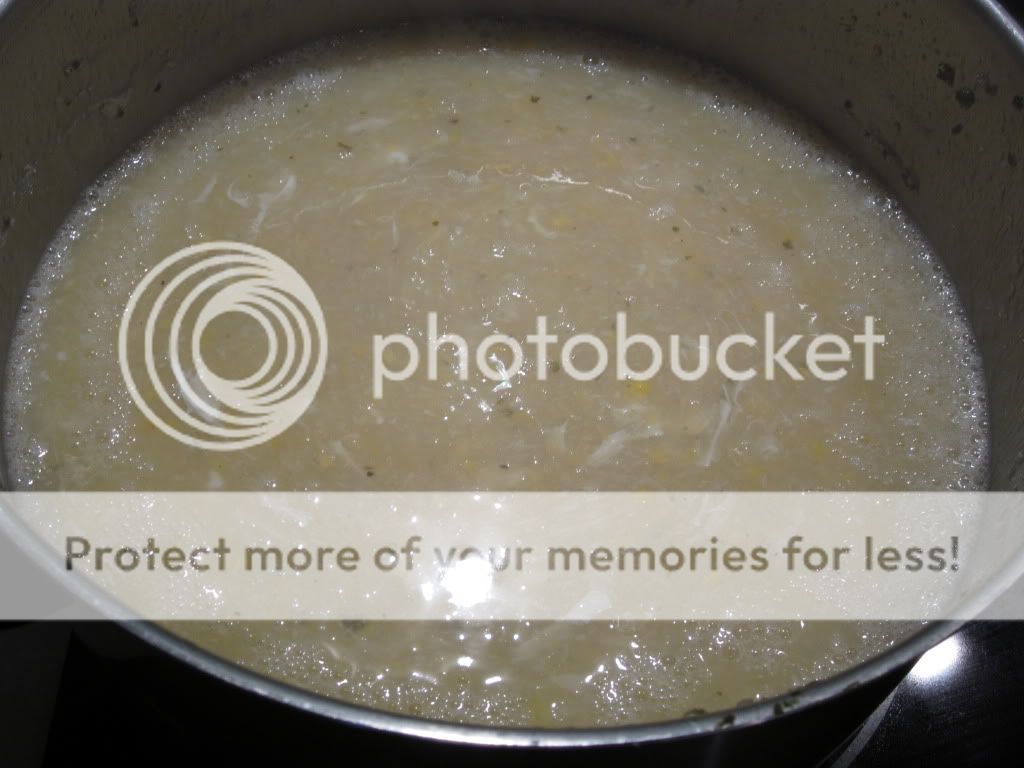
3. Combine, in a large saucepan, the reserved chicken stock, creamed corn, crumbled stock cubes, extra ginger, salt, pepper and sesame oil and bring to a boil. In a small bowl mix cornflour to a smooth paste with the 4tbsp of water, then add to the soup. Stir until the soup boils and thickens, reduce heat and simmer for one minute.
4. Beat egg whites and extra water lightly in a small bowl, add to the soup in a thin stream, stirring well as you pour.
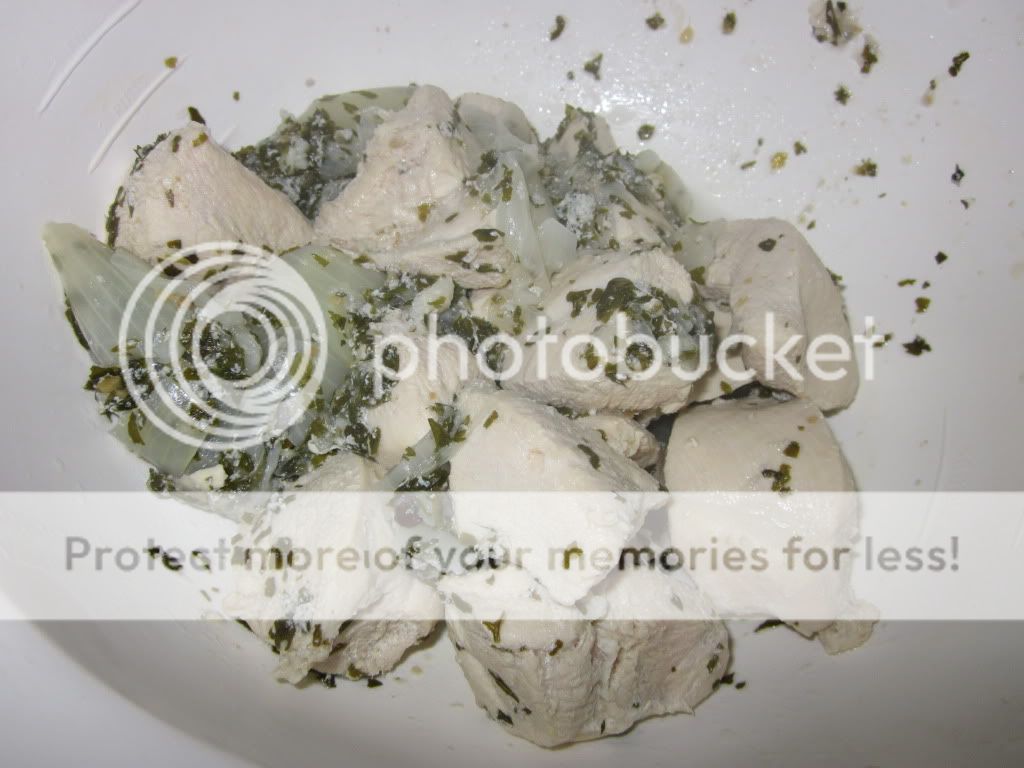
5. Remove meat from chicken or chicken pieces, shred finely. Add thinly sliced ham and chicken meat to the soup, heat gently.

Recipe Source:
AWW Chinese Cooking Class cookbook.
Chinese Cooking Class Cookbook

March 3, 2011

Sausages in (onion) gravy

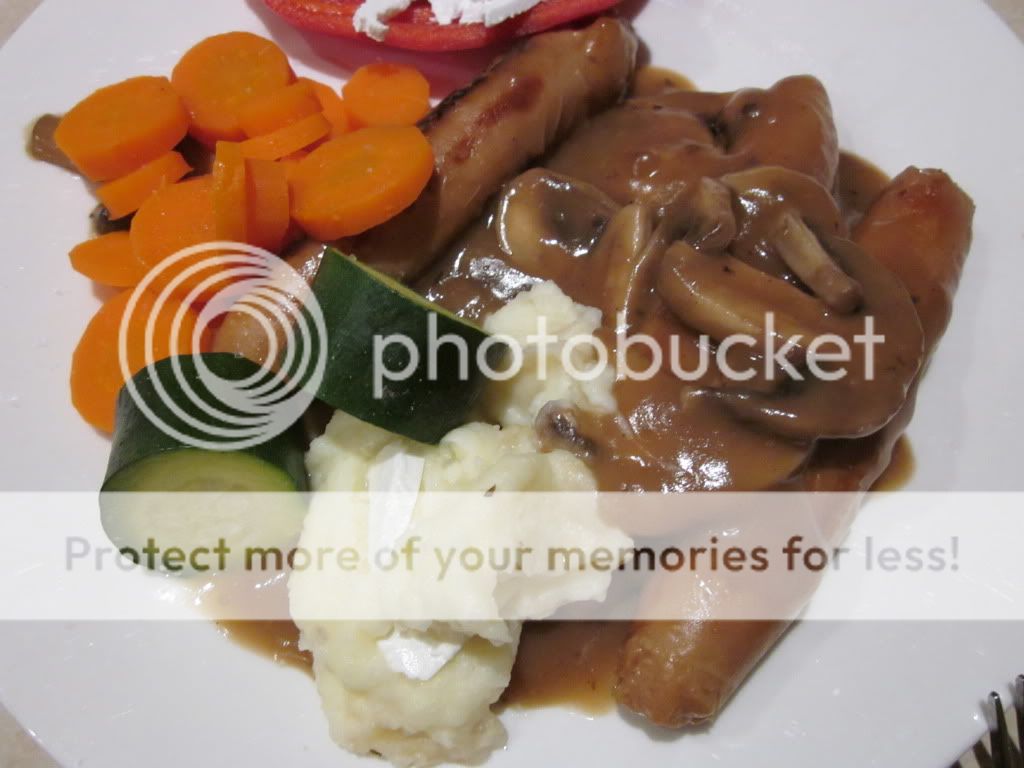
Do you ever have those days when all you feel like is some good old comfort food, no matter how good or bad it is for you? I had one of those days the other day. I was tired and not feeling very well and all I felt like was one of my favourite dishes from my childhood - Sausages in onion gravy. I know some of you will be horrified by the sound of this dish, but no matter how bad it sounds (and looks) it's really very tasty. Plus it's very easy and fairly quick to make.
Yes, I know, it's not the greatest looking meal...but it's comfort food! :)
You start off with as many BBQ sausages you need. You can use whatever sausages you want here - flavoured or plain, but we usually just get plain ones for this meal. In a frying pan with a little bit of oil fry the sausages until they're brown and cooked through.
Usually I slice a large onion into rings and cook it in the pan with the sausages, however on this occassion we were all out of onions so I decided to replace them with mushrooms. I sliced a few large mushrooms up and added them to the pan with the sausages to cook.
While these were cooking, I put 3 tablespoons of gravy powder (I know, I know) in a small bowl and filled it with water and whisked the two together. Once the sausages and mushrooms were cooked, I poured this gravy mixture over the top and stirred occassionally until the mixture thickened.
And that was it! Very simple, very quick. While I was cooking the sausages I also steamed some vegetables to have on the side - zucchini, carrots and potatoes which I mashed. Mashed potatoes with Sausages in Onion Gravy is a fantastic combination.
I must admit it tasted a little different to how it usually tastes - I'm guessing this is because of the use of mushrooms instead of onions. It was still very nice, but just not as good as usual.

Recipe Source: Family recipe

March 1, 2011

Polenta Fries (healthier alternative to Potato Fries)

In my attempt to keep on a vaguelly healthy path I've been eager to find as many healthy recipes as I can. I found this recipe for Polenta Fries through Not Quite Nigella and was excited to try them. I liked the fact they were so much like normal fries, yet apparently healthier! She used a Gorgonzola dipping sauce with hers, which sounds amazing, but I thought I'd try to be a little bit good and refrained myself from making the sauce too.
I haven't had much experience using polenta in my cooking, but I found it was easy to work with. The recipe was a little time consuming - an hour wait for the polenta to sit in the fridge - but really really easy. So if you're happy to wait the hour it takes before you can cook the chips then go ahead. It's well worth it.
In a saucepan I heated the milk, stock and salt until it was nearly boiling. I actually have a confession to make here - when I went to get the ingredients, I didn't have a list with me - there was only a couple of things I needed so why would I need a list?! Well because I thought that I needed chicken stock....when the recipe said vegetable stock. It didn't matter, the recipe still turned out tasting really nice, but I'm curious to see what the difference would have been if I had of added vegetable stock. I'm not sure if there would have been a big difference.....
Anyway, to the milk/stock mixture I added the polenta (make sure you add it in almost a stream - not all at once) and whisked while it was cooking. You'll have to look at the back of the packet to see how long your type of polenta takes to cook - mine took a few minutes. You can tell it's ready when it becomes very thick and comes away from the wall of the saucepan. Once the polenta was cooked I added in the grated cheese and stirred.
I then removed the polenta from the heat and added it to my prepared baking dish. I had this already greased with butter. Once I had the mixture spread out flat in the dish, I cooled it in the fridge for an hour. According to Not Quite Nigella you can leave the tray of polenta in the fridge overnight if you wish, which is good if you want to prepare these in advance.
After an hour, the mixture had set very well and I was able to remove it from the fridge. It came out onto my cutting board very easily and I then cut the polenta into strips to look like chips. I then placed these on a prepared baking tray onto which I'd placed baking paper and sprayed them with a little bit of olive oil.
These then went into the oven (preheated at 220 degrees Celcius) for 25 minutes. I think I could have left them in the oven a little bit longer to get more brown and crispy bits, but I couldn't wait any longer to try them!
And the outcome? Delicious! They looked like fries, but tasted different, however I still really liked them. My Dad was also a big fan - he came back for seconds. I will have to make them again in the future, if only to see if they taste any different with the vegetable stock.

Recipe Source: Not Quite Nigella

February 11, 2011

Salt and Pepper Calamari

I'm going a little bit healthy with todays post! I've actually been trying to eat healthier lately. I just got back to work a couple of weeks ago because school holidays are over and I felt like I'd been eating too much of the good stuff over my break. So here we are. I promise I'm not going to fill the blog with healthy food - I love my baking too much for that, it's just that every now and then I might add a healthy recipe that I try out. Although this Salt & Pepper Calamari recipe I found goes to show that eating healthy doesn't necessarily mean eating boring food.
This recipe was surprisingly easy. To be honest I've always been very nervous about cooking seafood for some reason. I've heard that it's very easy to overcook, but I'm also afraid that I'll under cook it in my trying not to overcook it! I've tried to cook calamari a couple of times before, but I've never known what to put on it. When I saw this recipe in the Nigella Lawson cookbook 'Nigella Bites' I knew I had to try it. 

I started off by cutting my calamari tubes in half so I could get to the inside. I cleaned out what I needed from the inside of the tubes, although luckily there wasn't much left there. Once I'd done that I sliced each half into rectangular shaped pieces.
Then in a zip lock bag I added the corn flour and ground up salt and pepper which I shook up to combine. I then added the calamari and shook the bag again until the calamari was coated in the flour mixture. 
I added the calamari, in a couple of batches, to a hot frying pan with plenty of oil in it to cook. I only needed to cook the calamari for about 2 minutes on each side before it was ready.
Before I served the calamari I added it to a plate with some paper towel on it to absorb some of the oil. The calamari had crisped up very nicely - it was golden brown, and crunchy because of the corn flour mixture. Then I added it to the plate with a little salad I'd made up. And voila! A very quick, easy, light and healthy meal. Perfect for a hot summers night dinner.

Recipe Source:
'Nigella Bites' by Nigella Lawson

February 4, 2011

Potato Salad

We celebrated my Mum's birthday recently with a BBQ here at home along with some surprise visitors! My cousin has recently returned home, after living in England for a few years, with her partner and they both (as well as her Dad) came out for the BBQ. My Mum had no idea what was happening and when they turned up at our house let out a shriek of surprise. LOL My family is big on surprises, we love doing things like this for each other.
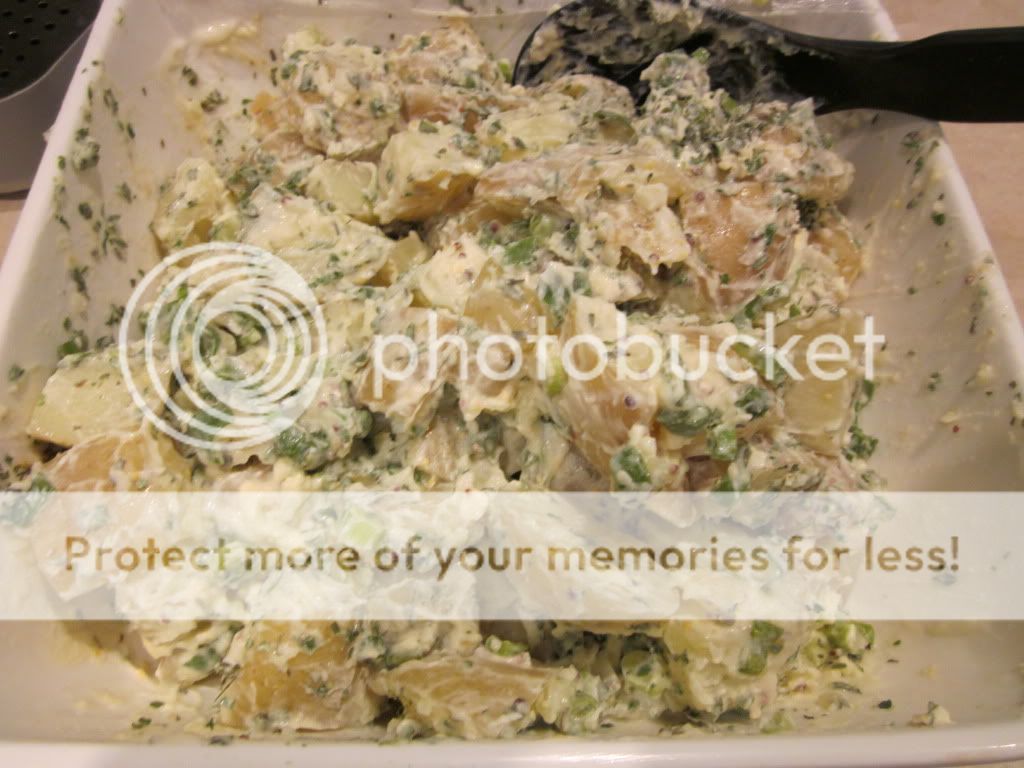
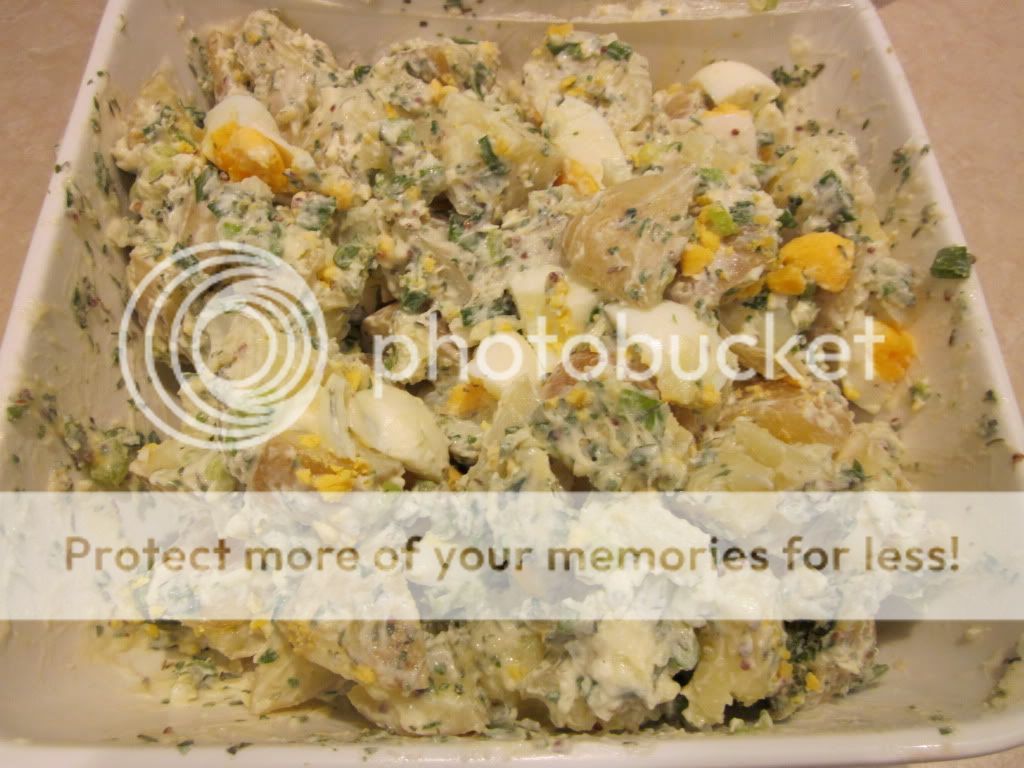
So we each contributed a dish or two to the BBQ and one of my 'jobs' was to make a salad. I'm not big on making salads but in the end decided to make a Potato Salad. It's always a favourite, plus it's usually very easy to make which was a plus since I was also making her cake (you'll hear all about that soon!). I found this recipe for Potato Salad in my Woman's Weekly 'Cook' cookbook and was really happy with how it turned out. It had some extra flavours that I (and the others) really liked.
Ingredients:
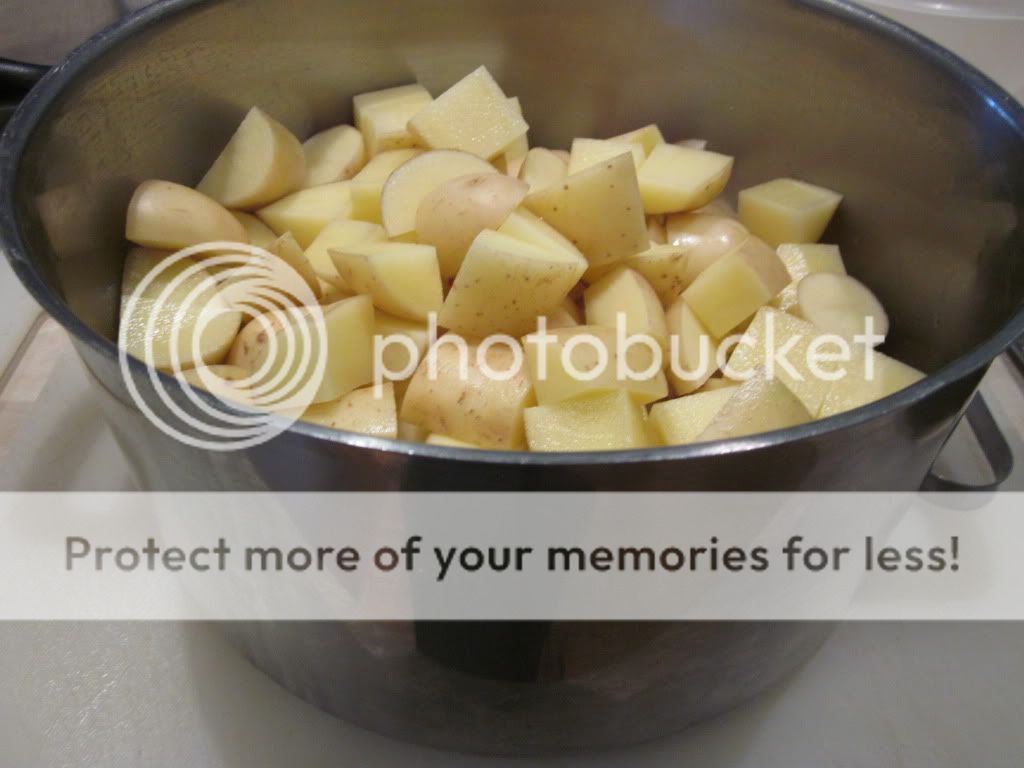
7 large potatoes (2kg) diced into 2cm pieces
2 tbsp cider vinegar
6 green onions (spring onion), chopped finely
2 tbsp finely chopped fresh tarragon
5 hard boiled eggs, chopped coarsely
3/4 cup mayonnaise
3/4 cup sour cream
1 tbsp wholegrain mustard
1 clove garlic, crushed
2 tbsp finely chopped fresh chives
1. Boil, steam or microwave potato until just tender, drain. Place potato, in single layer on tray; sprinkle with vinegar. Cool 15 minutes.
2. Place potato in large bowl with onion, tarragon, egg and combined remaining ingredients; toss gently to combine.

Recipe Source: Cook: How to cook absolutely everything by The Australian Woman's Weekly

share post

Facebook