I've seen a couple of variations of the Rainbow Cake around and I've wanted to try to make it ever since I saw it on the
Martha Stewart show a couple of months ago. Recently, however I found another version on the
Not Quite Nigella website and decided to try to make it for my sister's birthday, which was yesterday. I decided to go with NQN's version over Martha's, as it had the curve like an actual rainbow and didn't involve making separate cakes. I actually expected this to be one most difficult cakes I've made, although in the end it wasn't too hard. Also sorry in advance for some of the photos being a bit blurry. I had to use my iPhone, because my camera's playing up.
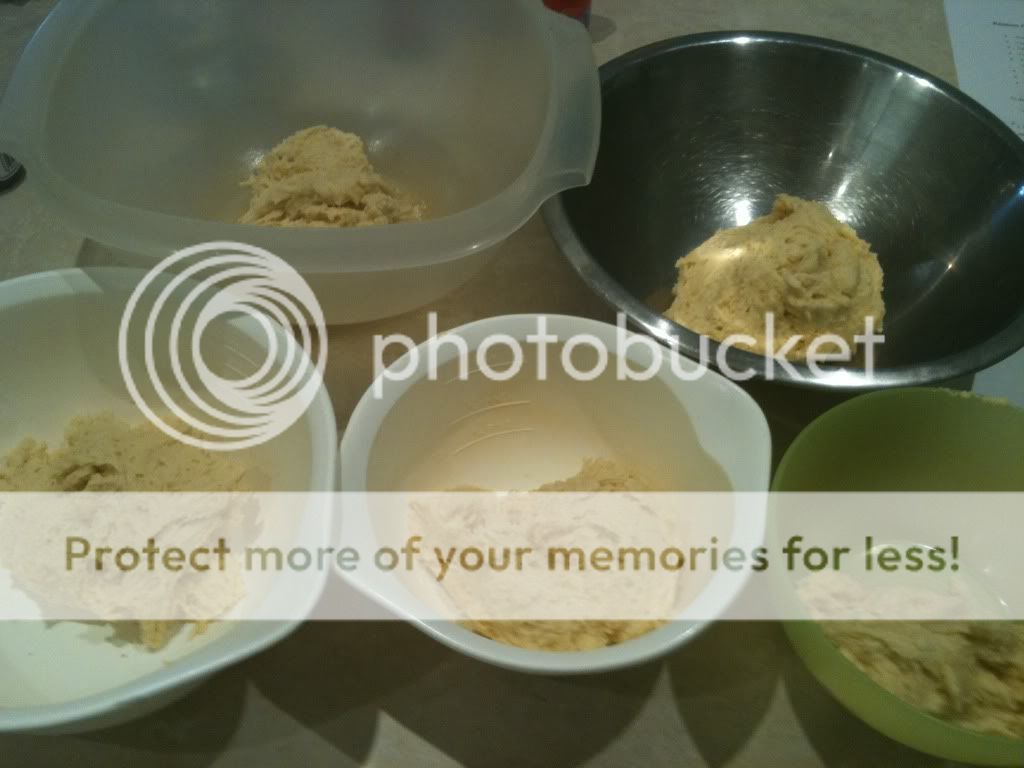
Here's some of the bowls with the mixture split between them. This was probably the hardest part of the recipe, trying to split the mixture into seven parts. Unfortunately the only scales we had were in ounces/pounds which I'm really not familiar with so I struggled a bit with that. I ended up getting it right in the end I think, or so I assumed from the look of the cake.
Here are the first two colours I added, a very bright blue and a dark purple colour. It's hard to see the actual colour of the purple in this photo, I think it looks more black here, but it did look good. I do admit to adding just a touch too much blue food dye which made it darker than I originally wanted. But I was still happy with the colour in the end.
And then I added the green.
And yellow and another shade of purple. I actually got to the point where I'd added the yellow part in and realised that in the recipe I had I could only see six colours in the pictures. I wasn't sure what other colour to add, so I decided on a lighter shade of purple. It's hard to see here, but it's actually lighter and more purple looking than it looks in the picture here. I did realise much later on, after I'd finished making the cake, when I looked at the instructions online that NQN had a very dark blue and a lighter blue, but I couldn't see the lighter blue in my printed out recipe. Oh well!
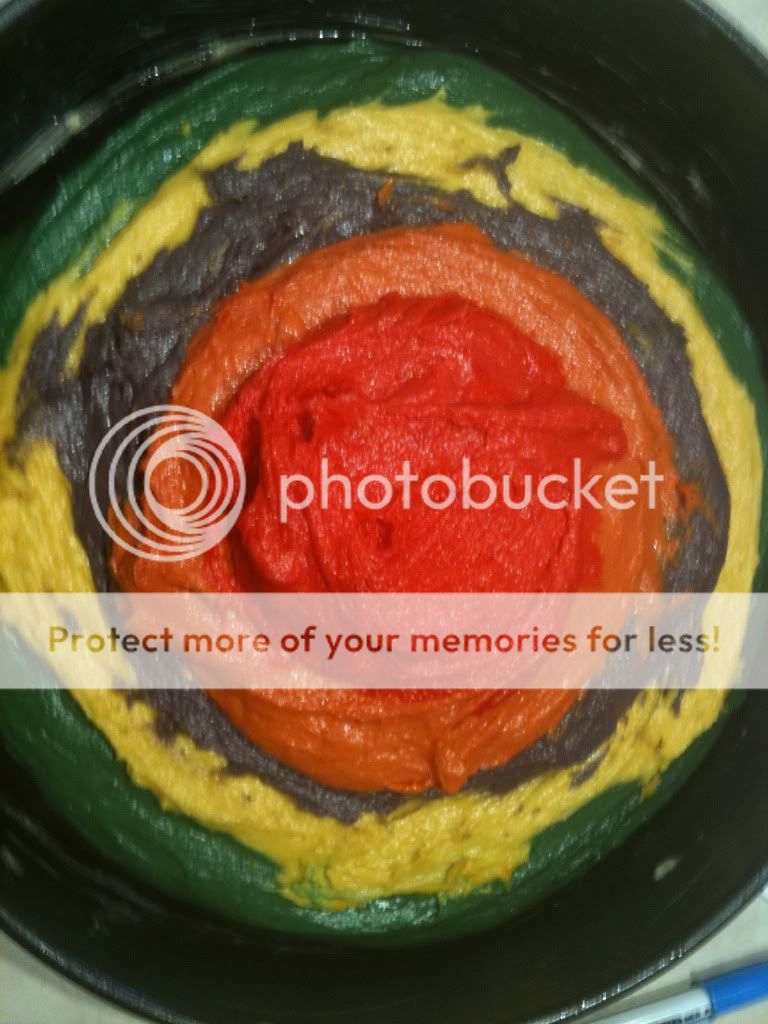
And the final two colours were orange and red. It's by putting each layer of the cake in the middle of the pan and then directly on top of each other that causes the lower levels of mixture to spread out to the edge of the pan. Each layer spreads out a little less and less and this gives you the end 'rainbow effect'.
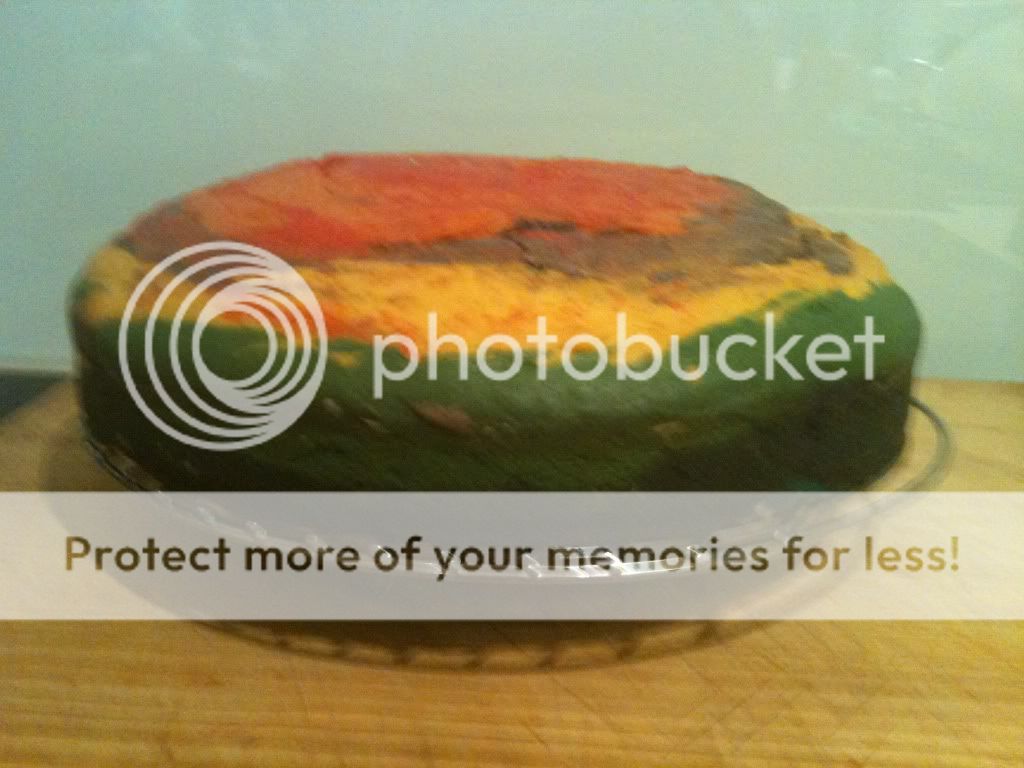
This is the cake cooling after being cooked. Prior to cooking I pressed the cake down a little with baking paper, like it's suggested in the recipe, but I must have pressed a little too hard because it made a bit of a mess of the top (the orange and red combined a little) but you couldn't tell this once the cake was iced and you cut into it.
I decided to frost the cake with cream cheese icing as it's a favourite of my sisters (and mine lol) It's a very easy icing to make, and easy to spread over the cake.
And voila! Here's a slice of the cake! I was really happy with how it turned out and it got lots of oohs and aahs from the family. My sister has even recruited me to make my nephew's (the gorgeous little boy you can see in the photo here) cake for his upcoming 2nd birthday - this cake in a 2 shape. Oh dear, wish me luck!
And the final photo. This is after my family had devoured half of the cake. I like this because you can really get the full rainbow effect here. I definitely recommend the Rainbow Cake if you want to make something very effective and eye catching.


Wow an amazing cake!! This cake not only looked amazing but it also tasted amazing. You are so clever in the kitchen and always take risks with your cooking! Yummo
ReplyDeleteYAY! I'm so glad that it worked out. It's a bit of hard work getting the layers but I think the effect is worthwhile from everyone's reactions. Great job! :)
ReplyDeleteAw thanks to you both! It was hard working out the layers and the measurements, but definitely worth it in the end! Thanks for inspiring me to make it :)
ReplyDeleteThis cake looks absolutely amazing!!
ReplyDeleteThank you so much Susan! It's a very effective cake!
ReplyDelete