Showing posts with label cookies. Show all posts

December 19, 2011

Jamie Oliver's Shortbread

Shortbread is one of those foods that I always think about whenever I think of Christmas. My mum always makes at least one batch for us to (gobble down) eat in the weeks before Christmas and it's always so soft and lovely. This year I decided to make a batch myself, and found this recipe of Jamie Oliver's to try. Apparently he called it the best Shortbread in the world, so I just had to test it out myself. And I must say it's definitely one of the best shortbreads I've had! The recipe turns out a light, buttery and really lovely batch of shortbread.
Ingredients:
1 cup plus 2 tbsp unsalted butter, plus more for greasing the pan
1/2 cup plus 1 tbsp icing sugar
2 scant cups plain flour, sifted, plus extra for dusting
1 scant cup corn flour
Note: For 'scant cups' just use slightly less than a full cup.

Method:
1. Preheat the oven to 150C. Butter a 9 inch square pan. Cream the butter and icing sugar together until pale, light and fluffy.
2. Add the flour and corn flour. Mix very lightly with a wooden spoon and then with your hands until you have a smooth dough.
3. Transfer the dough to a floured surface and roll it out until its an even 1 inch thick all over. Press the rolled out dough into your pan, poking it into the corners with your fingers. Don't worry about it looking perfect - I couldn't pick up all my dough in one lot so I just pressed it into the pan.
4. Prick the dough all over with a fork and then bake in the oven until slightly golden - about 50 minutes. While still warm sprinkle with a dusting of icing sugar. Allow the shortbread to cool slightly, then cut into chunky pieces.
Recipe Source:
Jamie Oliver's best shortbread in the world
Recipe found on East Village Kitchen

Jamie Oliver's Shortbread


Ingredients:

1 cup plus 2 tbsp unsalted butter, plus more for greasing the pan
1/2 cup plus 1 tbsp icing sugar
2 scant cups plain flour, sifted, plus extra for dusting
1 scant cup corn flour
Note: For 'scant cups' just use slightly less than a full cup.


Method:
1. Preheat the oven to 150C. Butter a 9 inch square pan. Cream the butter and icing sugar together until pale, light and fluffy.
2. Add the flour and corn flour. Mix very lightly with a wooden spoon and then with your hands until you have a smooth dough.
3. Transfer the dough to a floured surface and roll it out until its an even 1 inch thick all over. Press the rolled out dough into your pan, poking it into the corners with your fingers. Don't worry about it looking perfect - I couldn't pick up all my dough in one lot so I just pressed it into the pan.
4. Prick the dough all over with a fork and then bake in the oven until slightly golden - about 50 minutes. While still warm sprinkle with a dusting of icing sugar. Allow the shortbread to cool slightly, then cut into chunky pieces.


December 17, 2011

Edible Gifts - Cowgirl Cookie Jar Mix

Can you believe there's only a week to go til Christmas?! It's really snuck up on me this year and I feel so disorganised. I only put the Christmas tree up last week, my cards were posted on Friday and I've barely started my Christmas shopping. My family does KK each year so we each get something big that we really want. That means that my sisters and I don't give each other presents (unless we've drawn each other for KK) but this year I decided to surprise them with a little gift each. This jarred cookie mix, that I found on Bakerella, was perfect, it was an affordable gift, but still very effective with the layers of dry ingredients in the jar. Plus home made gifts are always that little bit more meaningful. (BTW, please forgive the date stamp on the photos - I was using someone else's camera and didn't realise that setting was on).
I found these M&Ms that have been released for Christmas so I thought these would be perfect for my jars. My sisters all absolutely love white chocolate too, so I thought I'd add a few of those along with the milk choc chips.
Bakerella even created some printable labels that I used. On the back there's another label with the directions (US temperatures and measurements). I had a little trouble with these, I'm not sure if it was the round labels or the curve of the jars but I just couldn't get them to stick without having at least one crease in the label. Plus, as you can see I decided against having fabric over the lid. I had wanted to put some red or green fabric there but it didn't really go with the pink label, plus with the jars I got the lid was a bit awkwardly shaped.
This is my beautiful nephew Lenny - do you think he was impressed? :)
Ingredients (makes one 1 litre jar)
Layer your ingredients in your jars in the following order (and make sure you pack the ingredients in really tight - otherwise they won't all fit):
1 1/3 cup plain flour, spooned into measuring cup & leveled
1 tsp baking powder
1 tsp baking soda
1/4 tsp salt
1 cup rolled oats
3/4 cup M&Ms
3/4 cup chocolate chips
1/2 cup brown sugar, packed
1/2 cup white sugar
1/3 cup chopped pecans

Method:
1. Empty your jar of dry ingredients into a bowl and mix together.
2. Add 1 slightly beaten egg, 1/2 cup butter (melted slightly in the microwave) and 1 tsp vanilla and mix together - you might have to get your hands dirty for this (don't put them in your mixer like I did before I'd read the instructions properly - this apparently breaks up the M&Ms which makes the colour bleed a little - duh!)

3. Roll your dough into balls and place on a baking paper covered baking tray for about 10 minutes in a 180 C oven. 
These cookies are great because you can make them specific to whichever holiday you are celebrating at the time. Bakerella added pink M&Ms in hers, so you can really add whichever colours you like. 
Recipe Source:
Bakerella's 

Cowgirl Cookie Jar Mix


In a 1 litre jar layer the dry ingredients in the following order:


First - flour, baking powder, baking soda and salt
Second - oats
Third: M&Ms
Fourth - chocolate chips
Fifth - brown sugar
Sixth - white sugar
Seventh - chopped pecans


Make sure that you pack each level down very tightly. This is important as you may not fit in all the ingredients otherwise. So push down really well!
Wet ingredients:
1 egg, lightly beaten
1/2 cup butter (almost melted in the microwave)
1 tsp vanilla

To make the cookies:
1. Empty your jar of ingredients out into a bowl and mix together.
2. Using a wooden spoon (or your hands if need be) mix in the wet ingredients.
3. Roll your dough into balls and place on a baking tray which has been covered with baking paper
4. Bake for about 10 minutes in a 180C oven.
5. Remove from tray and cool on a wire rack.


March 8, 2011

Ming Makes Cupcakes

I haven't done this in a while I know, but every now and then I plan to share a great blog that I love looking at. This time I wanted to share a blog called Ming Makes Cupcakes which makes me drool every time I visit there! There are not only 33 fantastic sounding cupcake recipes on the site but also a few savoury and cookie recipes. I love how the recipes are each laid out like a recipe card. There are also some fantastic photos of the amazing looking cupcakes, which I must admit have made me tempted to lick the screen on more than one occasion. A couple of cupcakes that are guilty of this in particular are the Vanilla Almond cupcakes with Maple Cream Cheese Frosting and the Coffee Chocolate Cupcakes with Baileys Irish Cream Frosting!
I'm really looking forward to trying at least one of these recipes one day. The sooner the better, I think! I definitely recommend you making a visit to Ming's website. 

February 24, 2011

Heart shaped Red Velvet Whoopie Pies

I'm not big on Valentines Day. I'm actually one of those people who usually scoff at it. But I think it's just because I don't have a partner, and deep down I know that if I did I'd probably love v-day (as I call it) if I had a partner. lol I know, I'm fickle. But this year, a friend of mine asked me if I wanted to help her organise a picnic with our other girl friends for Valentines Day. And I jumped on the bandwagon. I love picnics and it was a great excuse to catch up with the girls. I was originally going to make the Conversation Heart Cookies from Annie's Eats but couldn't find all the tools I needed to do the icing on the cookies in time. So instead I chose another great looking recipe from the same website - 
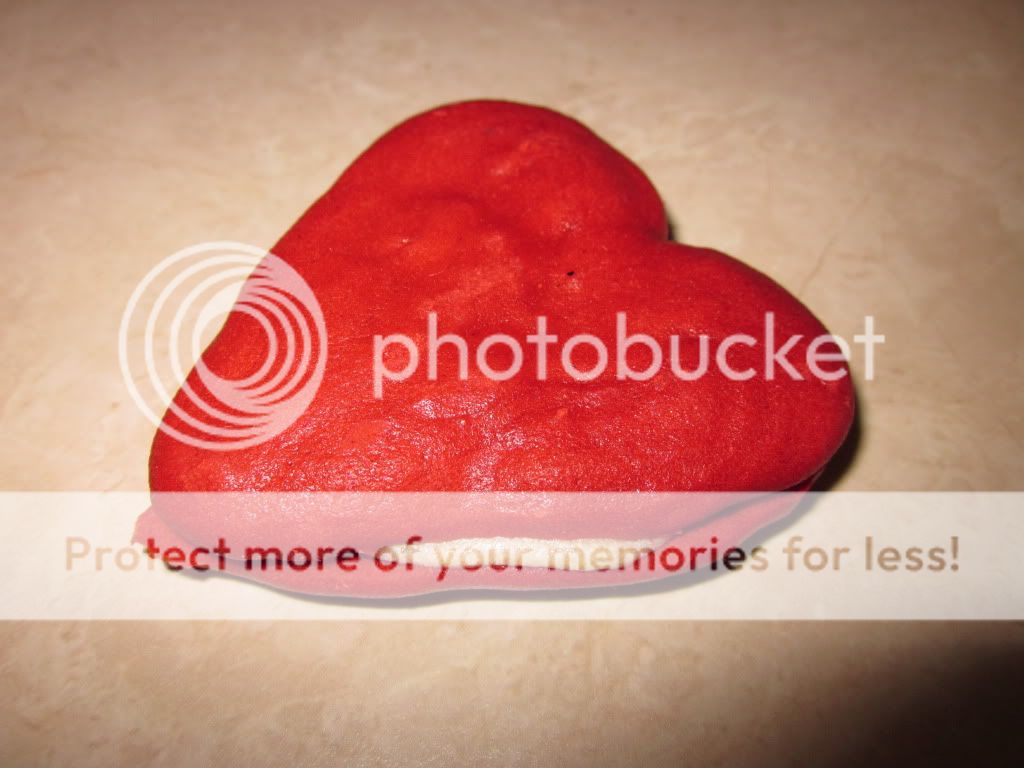
Red Velvet Whoopie Pies.
For the biscuits:
2 cups flour
2 tbsp cocoa
½ tsp baking powder
¼ tsp salt
8 tbsp unsalted butter, at room temperature
1 cup brown sugar, packed
1 egg
1 tsp vanilla
½ cup buttermilk
25ml red food coloring
For the icing:
225g cream cheese
5 tbsp unsalted butter, at room temperature
2 tsp vanilla extract
2½ cups confectioners’ sugar, sifted

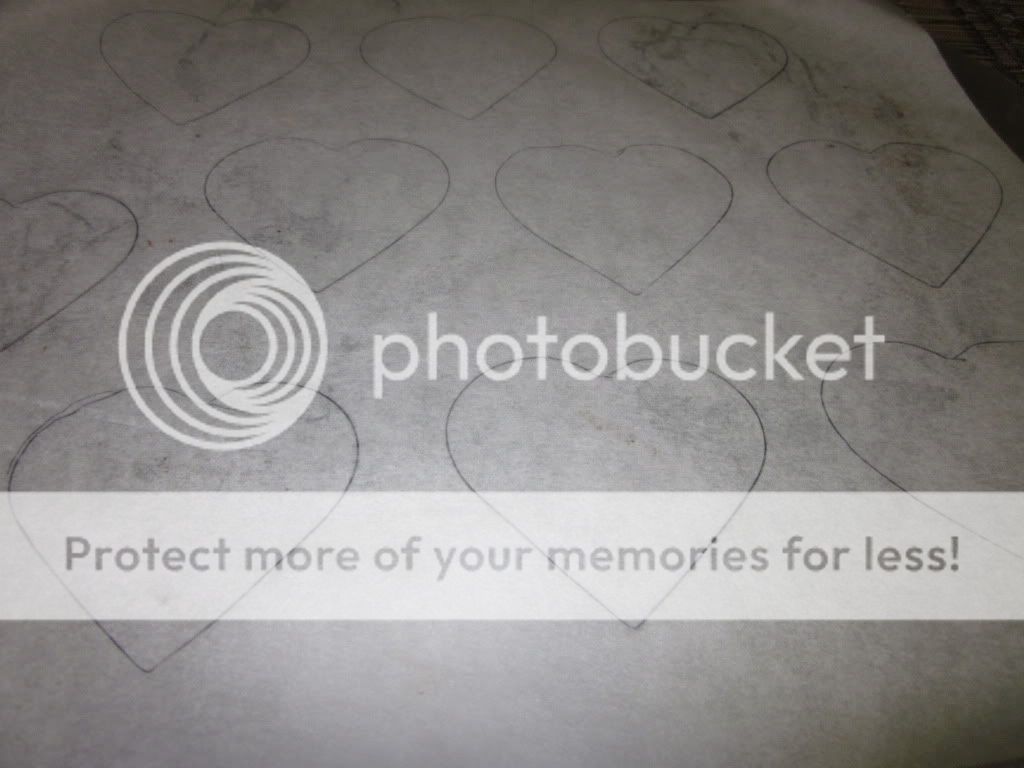
First I used a heart cookie cutter that I'd purchased to make the cookies with, and traced around it on baking paper to make my heart templates. The baking paper then had to be placed pencil side down on the baking tray. The heart shapes were still visible through the paper.
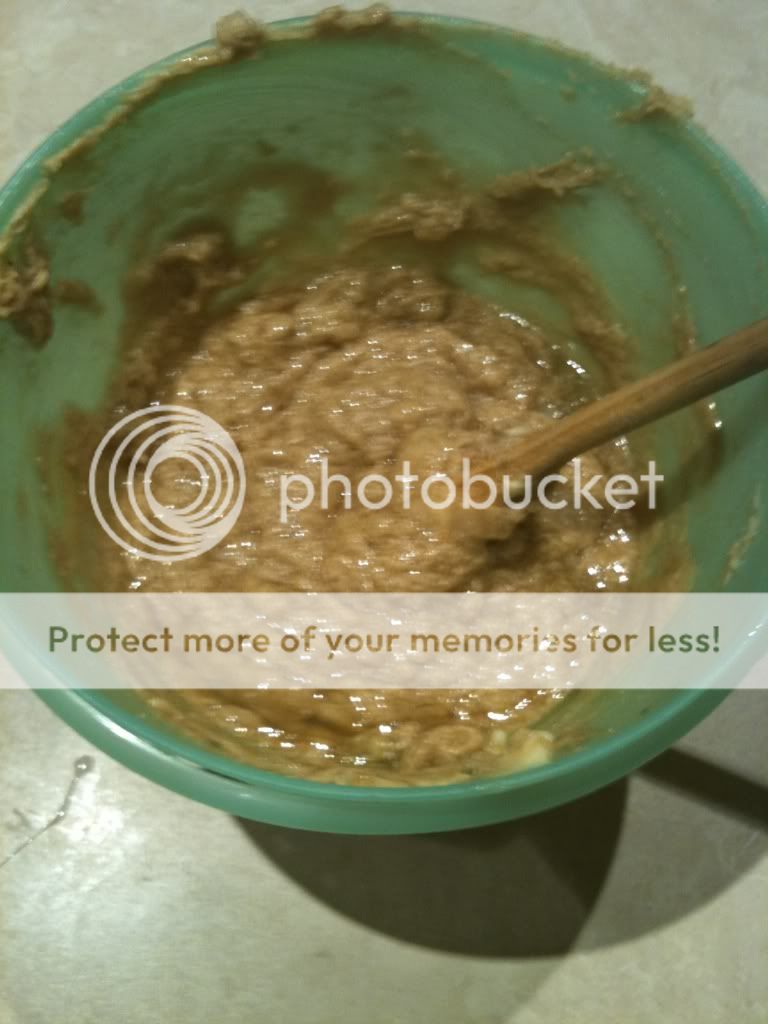
To make the biscuits, I mixed together all the dry ingredients (except the sugar) in one bowl and then in a seperate bowl I creamed together the butter and sugar. To this butter mixture I beat in the egg and then stirred in the vanilla. I then alternated between adding and stirring in a third of the dry ingredients and half of the buttermilk until both were all used up. And lastly I added in the red food colouring. I didn't have any gel colours so I had to use the liquid food colouring. I ended up using half a bottle which made a beautiful, vibrant red colour.
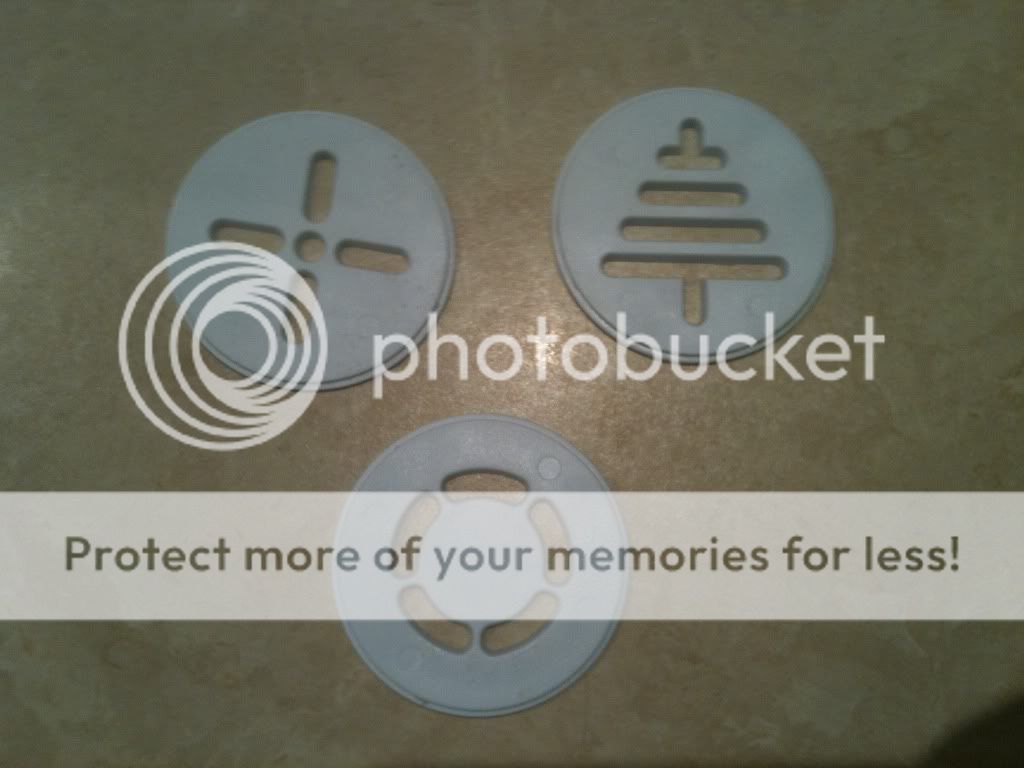
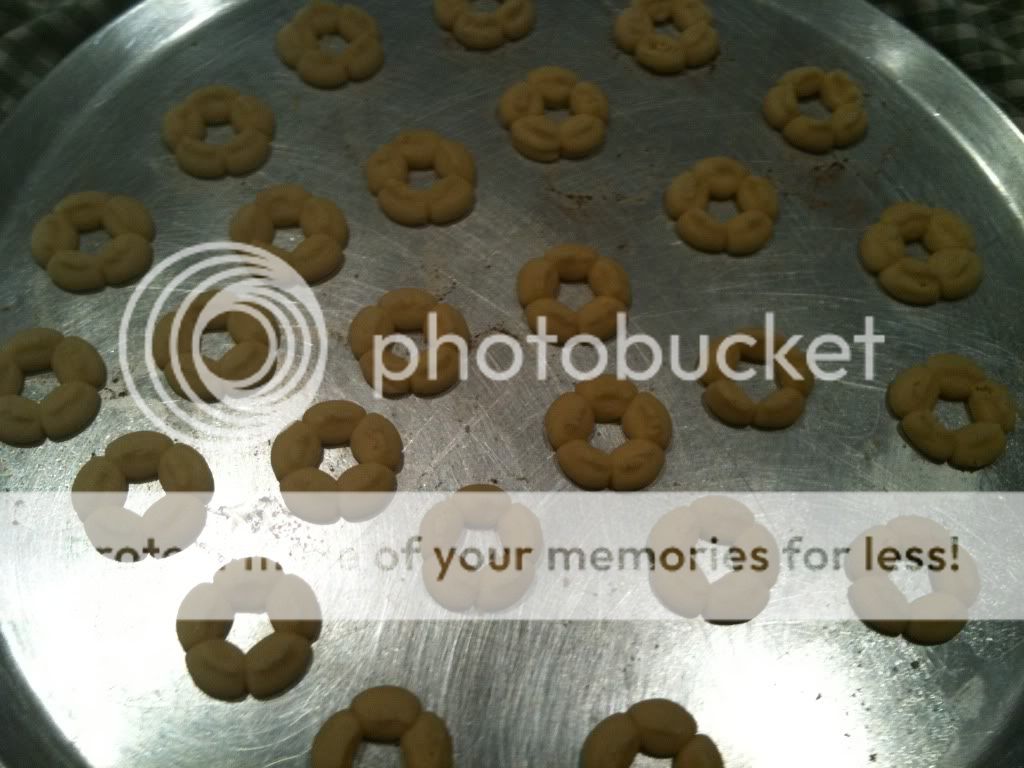
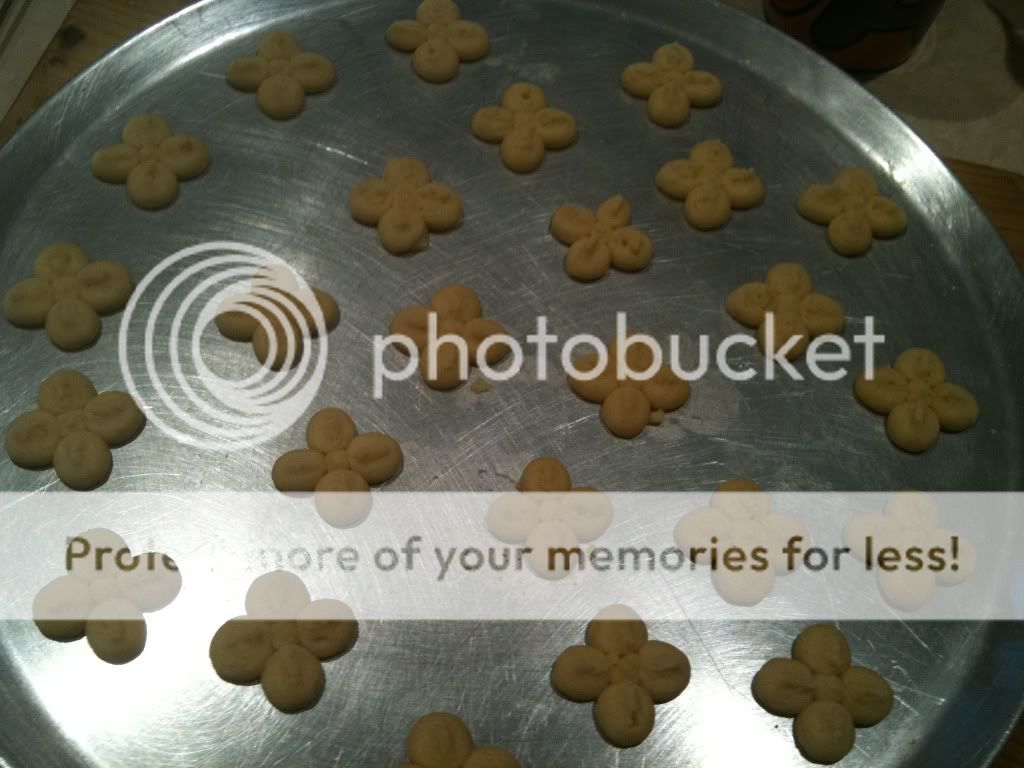
Next came the hardest part for me. I had to put the mixture for the biscuits into a piping bag (I had a tupperware version) and squeeze it out onto the baking tray using the heart shape templates I'd drawn earlier. I'm not sure if it was the tip I was using (I didn't have a plain one to use) or the fact that I'd had no practise doing this but most of my biscuits ended up heart-ish shaped, and some ended up being bigger than others.
The biscuits then went into a 190 degree Celsius oven for 9 minutes before being transferred onto a cooling rack.
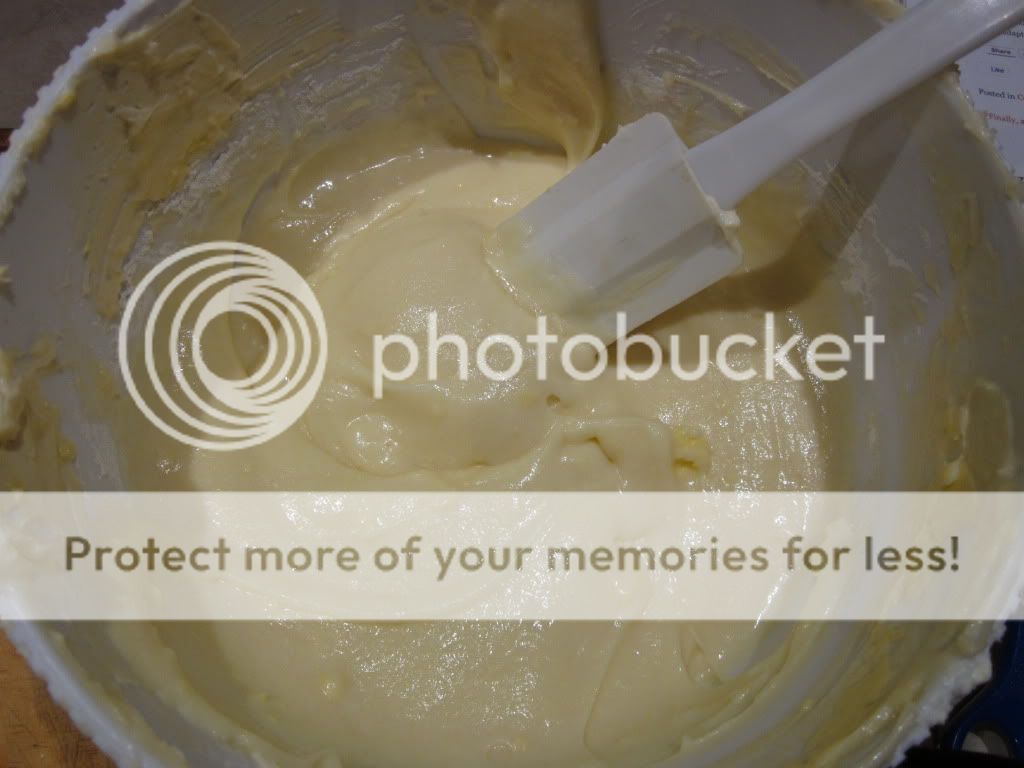
While the biscuits were cooling I decided to make the icing so it was ready to go when I needed it. To make this I beat the cream cheese and butter together, before mixing in the vanilla and then gradually adding and beating in the icing sugar.
Once the biscuits had cooled I paired them all up with biscuits of the same shape/size. I then filled my tupperware piping container with the icing and piped it onto the flat side of half of the cookies before sandwiching the biscuits pair on top.
I was pretty happy with how my whoopie pies turned out, especially since it was the first time I've ever made them and also the first time I've made shaped cookies. I managed to get them all vaguelly heart shaped, even though they weren't absolutely perfect and most importantly my friends raved about them!

Recipe Source: Annie's Eats

February 15, 2011

Chewy Lemon Sugar Cookies

I found these cookies on a blog I was ready aaaages ago and have gone to try making them a couple of times but then realized I didn't have all the ingredients. Unfortunately when I printed off the recipe, I think I copied and pasted it into a Word document and so my print out doesn't have the name of the blog on it. So if you know where these came from or who made them first please let me know, because then I'll be able to give proper credit.
These cookies were super easy to make and I'm so glad that I got to try them after such a long time. I really like soft cookies so these were perfect for me. I also really liked the contrast between the bite of the salt and lemon and the sweetness of the sugar.
Ingredients:
2 1/4 cups flour
1/2 tsp salt
1 tsp baking soda
250g butter
1 cup sugar
zest of 1 lemon
1 egg
1/3 cup coarse sugar (caster sugar or plain sugar works if that's all you have)
1. Preheat oven to 190 degrees Celsius. Line baking trays with baking paper.
2. Sift the flour, salt and baking soda together.
3. Cream the butter, 1 cup of sugar and lemon zest until very smooth. Add the egg and continue to beat until fluffy. Pour in the dry ingredients and mix until just combined. 
 4. Place the remaining 1/3 cup of sugar into a bowl. Form balls out of the cookie dough 2 inches in diameter and roll them through the sugar. Arrange on a cookie sheet 4 inches apart. 
5. Bake for 8 to 10 minutes, or until the edges are just golden. The tops of the cookies should remain pale. Cool completely on the cookie sheets before removing to a plate. 

Recipe Source: 
Unknown - please let me know if you or someone you know is behind the creation of this fabulous recipe! I am more than happy to give you the credit due to you.

January 25, 2011

Ultimate Chocolate Chip Cookies

It may seem that I'm obsessed with chocolate chip cookies (okay I sort of am) but they're just so easy to make and great if you need something small to nibble (or scoff) on. I went away again at the weekend with some of my friends and thought these would be perfect to take with us, especially when I saw their name. Ultimate chocolate chip cookies? How could I resist!? I took half of the batch away with me over the weekend and I couldn't believe how fast these disappeared! We got down to the beach on the Friday afternoon and they were gone by the end of the next day. My friend's said that they were to die for and I actually had to agree with them. I thought my last recipe that I'd found was fantastic, but these are just that much better! Again, these were also a Martha Stewart recipe. :)
Ingredients:
3 1/2 cups flour
1 1/4 tsp baking soda
1 1/4 tsp baking powder
2 tsp salt
315g unsalted butter, room temp
1 1/2 cups packed brown sugar
1 cup caster sugar
2 large eggs
1 1/2 tsp vanilla
440g chocolate (both white and milk chocolate)
1. Preheat oven to 180 degrees Celsius. In a bowl, whisk together flour, baking soda, baking powder and salt.
2. In a large bowl, using an electric mixer, beat butter and sugars until light and fluffy. Reduce speed and beat in eggs, one at a time. Beat in vanilla. Mix in flour mixture just until incorporated; fold in chocolate.
3. Using a 1/4 cup scoop (I actually just grabbed bits of dough and made smaller balls because I like smaller cookies - these still came out quite big though) and refrigerate 1 hour. 
4. Arrange 6 unbaked cookies on each of two baking paper lined trays. Bake cookies until light golden brown, approx 15 minutes. Transfer cookies to a wire rack and let cool. 

Recipe Source: Martha Stewart website

January 17, 2011

Soft and Chewy Chocolate Chip Cookies

I just got back from a weekend away with my sisters and their partners and my beautiful niece and nephew. We hired a house down in a small town called Barwon Heads which is on the coast here in Victoria. To make things a little bit more affordable we all decided to bring a few food products each, so I decided to cook some Chocolate chip cookies. These cookies are great if you're after something quick, simple and tasty to bake. I always put a nicer eating chocolate in, rather than cooking chocolate, because I like the taste better. I like to put both white and milk chocolate in them too and I always put a little bit more in than asked for in the recipe. There's definitely nothing wrong with more chocolate! If you like your cookies soft and chewy rather than crunchy then these are perfect for you.
Ingredients:
2 1/4 cups plain flour
1/2 tsp baking soda
250g butter, room temperature
1/2 cup caster sugar
1 cup packed brown sugar
2 tsp vanilla
2 eggs
2 1/2 cups white and milk chocolate chips
1. Preheat oven to 180 degrees. In a bowl, whisk together the flour and baking soda; set aside. In a bowl of an electric mixer combine the butter with both sugars; beat on medium speed until light and fluffy. Reduce speed; add the vanilla and eggs. Beat until well mixed, about 1 minute. Add flour mixture; mix until just combined.
2. Add in chocolate chips and mix well.
3. Drop heaping tbsp size balls of dough about 2 inches apart on baking sheets lined with baking paper.
4. Bake until cookies are golden around the edges, but still soft in the centre, 8-10 minutes. Remove from oven, and let cool on baking tray 1-2 mins. Transfer to a wire rack, and let cool completely.

Recipe from: Martha Stewart


December 22, 2010

Spritz Cookies

I bought a new toy for my kitchen last week and I've finally had an excuse to try it out! It's a Wilton Cookie Press that I got from Ebay and you can make different shaped cookies with it very easily. There's different disks which you can add onto the end to make all different shaped cookies and I tried a few this time. Most of them are Christmas tree shaped ones though, because I'm taking them to my sisters house for Christmas Eve.
So here's the disks that I chose to use. You slot these onto the end of the press and the dough comes out through it to form the cookie shape.
And this is what the press looks like. As you can see I've put some of the cookie dough into the pipe and once you screw the end back on all you have to do is put the end against your baking tray and press the trigger once or twice depending on how big you want your cookies. I find that once is enough to make a good shaped cookie. 
Ingredients: 
1 1/2 cups butter
1 cup granulated sugar (I used caster sugar)
1 egg
2 tbsp milk
1 tsp vanilla 
1/2 tsp almond extract
3 1/2 cups flour
1 tsp baking powder
Method:
Preheat oven to 375F (190C). Thoroughly cream butter and sugar. Add egg, milk, vanilla and almond extract; beat well. Stir together flour and baking powder; gradually add to creamed mixture, mixing to make a smooth dough. Do not chill. Place dough into Cookie Press and press cookies onto ungreased cookie sheet. 
Bake 10-12 minutes or until lightly browned around edges. Remove cookies from sheet; cool on rack.
Here's one batch of the cookies in the first shape that I made. These are almost like a wreath shape, so I guess they could still be Christmassy. 
And the second batch, not really Christmassy at all! 
And here's what most of the cookies looked like, Christmas Tree shaped. I actually sprinkled a little bit of cinnamon on top of some of the cookies, just to experiment with the flavour. I've seen these decorated in many different ways, with chocolate, icing or edible sugared glitter. I didn't have any of those on hand, hence the cinnamon.
I also didn't have any almond extract in my pantry so I added a tiny bit more vanilla to the mixture and some cinnamon as well.
This recipe makes a really huge batch of cookies, I'm not sure how many I actually got but the recipe says it makes about 7-8 dozen! I guess because you use so little mixture for each cookie, compared to if you rolled your own balls for cookies it goes so much further. They do stay fresh for quite a few days, so if you don't eat them all straight away then you'll eventually get through them. My sister became quite addicted to these the other day ;) lol

November 15, 2010

Snickerdoodle Cookies

What a wet, rainy Spring weekend we've had here! It rained constantly all day Saturday and then on and off on Sunday. A great excuse for baking, I think! Firstly though, we went to buy some chickens in Kyneton. There's a guy up there selling year old chickens for $3. They're ex-battery hens so it's lovely to see them in a yard with plenty of space! So far, they're getting used to our hen house, and the other hen & rooster that live there. As you can see, some of their feathers are missing but they'll grow back soon enough! :) At least I'll be able to collect more eggs for baking soon too.

So anyway, on Sunday I decided (it took me forever to decide too!) to make some of Martha's Snickerdoodle Cookies, which you can find here on her website. They were really easy to make, and turned out beautifully. 

Ingredients: 
2 3/4 cups plain flour
2 tsp cream of tartar
1 tsp baking soda
1/4 tsp salt
125g unsalted butter
1/2 cup vegetable shortening
1 3/4 cups sugar
2 tbsp ground cinnamon
2 large eggs

Method:
1. Preheat the oven to 400 degrees. Line baking trays with baking paper, set aside.
2. Sift together flour, cream of tartar, baking soda, and salt, set aside. In the bowl of an electric mixer, combine butter, shortening, and 1 1/2 cups sugar. Beat on medium speed until light and fluffy, about 2 minutes. Scrape down sides of bowl. Add eggs, and beat to combine. Add dry ingredients, and beat to combine.
3. In a small bowl, combine remaining 1/4 cup sugar and the ground cinnamon. Use a small ice cream scoop to form balls of the dough, and roll in cinnamon sugar. Place about 2 inches apart on the prepared baking sheets. 
4. Bake until the cookies are set in the centre and begin to crack (they will not brown), about 10 minutes, rotating the baking sheets after 5 minutes. Transfer the sheets to a wire rack to cool, about 5 minutes before transferring the cookies to the rack. 
And here is the finished product! These cookies were super easy and turned out really well! They have a lovely cinnamon, sugary taste to them that I like (I love cinnamon). 
I actually didn't have any vegetable shortening (I'm not even sure if they sell it in Australia - and we had no copha which most websites said to replace it with) so I ended up substituting it with butter. I don't think it effected them in any way, they still ended up fine! I also used a tablespoon to get my scoops of batter out to make the balls and even those cookies ended up really big! (the scoop the recipe called for was the equivalent of 2 1/2 tbsp). I'll definitely be making these again. :)

share post

Facebook