I'm not big on Valentines Day. I'm actually one of those people who usually scoff at it. But I think it's just because I don't have a partner, and deep down I know that if I did I'd probably love v-day (as I call it) if I had a partner. lol I know, I'm fickle. But this year, a friend of mine asked me if I wanted to help her organise a picnic with our other girl friends for Valentines Day. And I jumped on the bandwagon. I love picnics and it was a great excuse to catch up with the girls. I was originally going to make the Conversation Heart Cookies from
Annie's Eats but couldn't find all the tools I needed to do the icing on the cookies in time. So instead I chose another great looking recipe from the same website -
Red Velvet Whoopie Pies.
For the biscuits:
2 cups flour
2 tbsp cocoa
½ tsp baking powder
¼ tsp salt
8 tbsp unsalted butter, at room temperature
1 cup brown sugar, packed
1 egg
1 tsp vanilla
½ cup buttermilk
25ml red food coloring
For the icing:
225g cream cheese
5 tbsp unsalted butter, at room temperature
2 tsp vanilla extract
2½ cups confectioners’ sugar, sifted
First I used a heart cookie cutter that I'd purchased to make the cookies with, and traced around it on baking paper to make my heart templates. The baking paper then had to be placed pencil side down on the baking tray. The heart shapes were still visible through the paper.
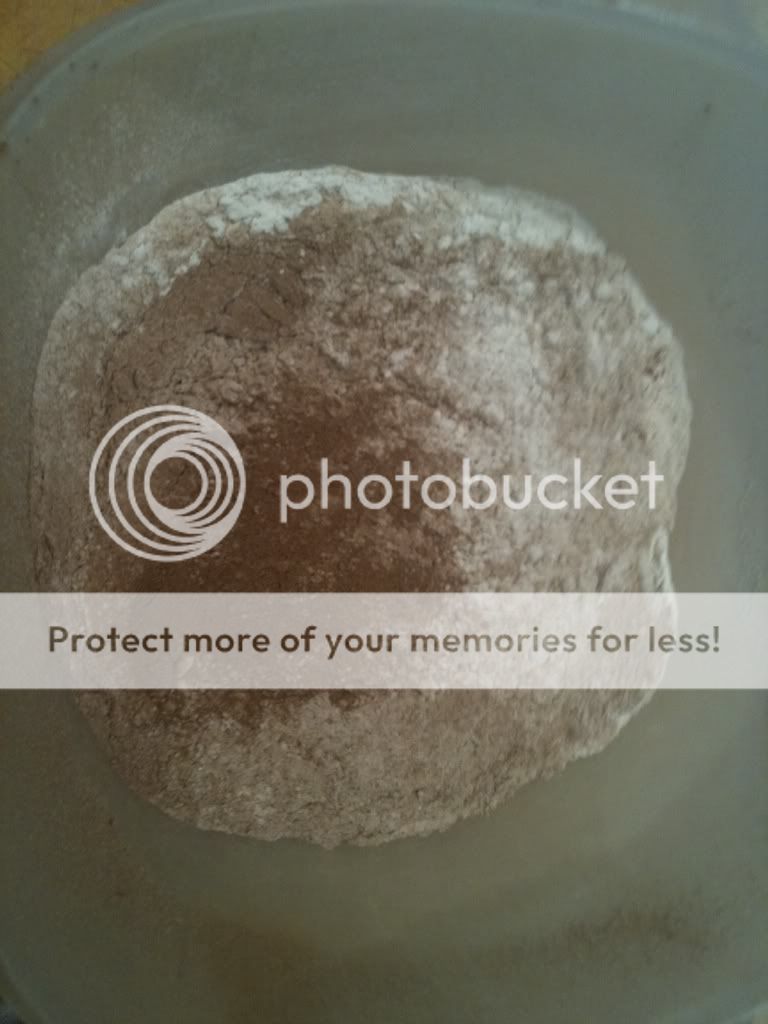
To make the biscuits, I mixed together all the dry ingredients (except the sugar) in one bowl and then in a seperate bowl I creamed together the butter and sugar. To this butter mixture I beat in the egg and then stirred in the vanilla. I then alternated between adding and stirring in a third of the dry ingredients and half of the buttermilk until both were all used up. And lastly I added in the red food colouring. I didn't have any gel colours so I had to use the liquid food colouring. I ended up using half a bottle which made a beautiful, vibrant red colour.

Next came the hardest part for me. I had to put the mixture for the biscuits into a piping bag (I had a tupperware version) and squeeze it out onto the baking tray using the heart shape templates I'd drawn earlier. I'm not sure if it was the tip I was using (I didn't have a plain one to use) or the fact that I'd had no practise doing this but most of my biscuits ended up heart-ish shaped, and some ended up being bigger than others.
The biscuits then went into a 190 degree Celsius oven for 9 minutes before being transferred onto a cooling rack.
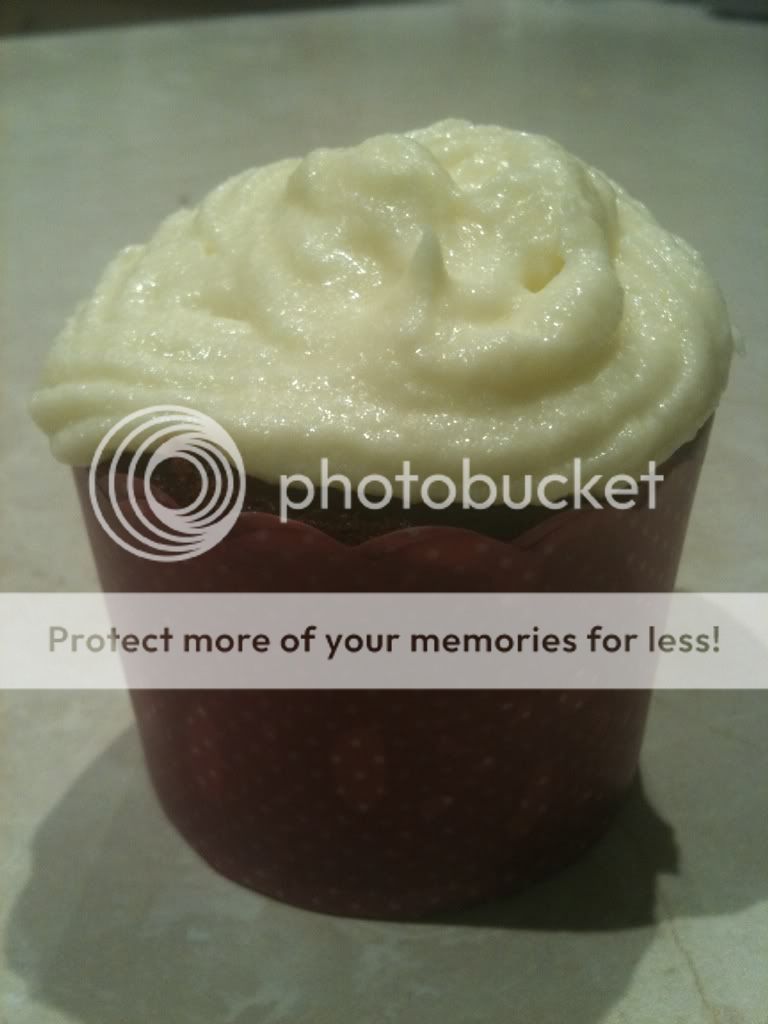
While the biscuits were cooling I decided to make the icing so it was ready to go when I needed it. To make this I beat the cream cheese and butter together, before mixing in the vanilla and then gradually adding and beating in the icing sugar.
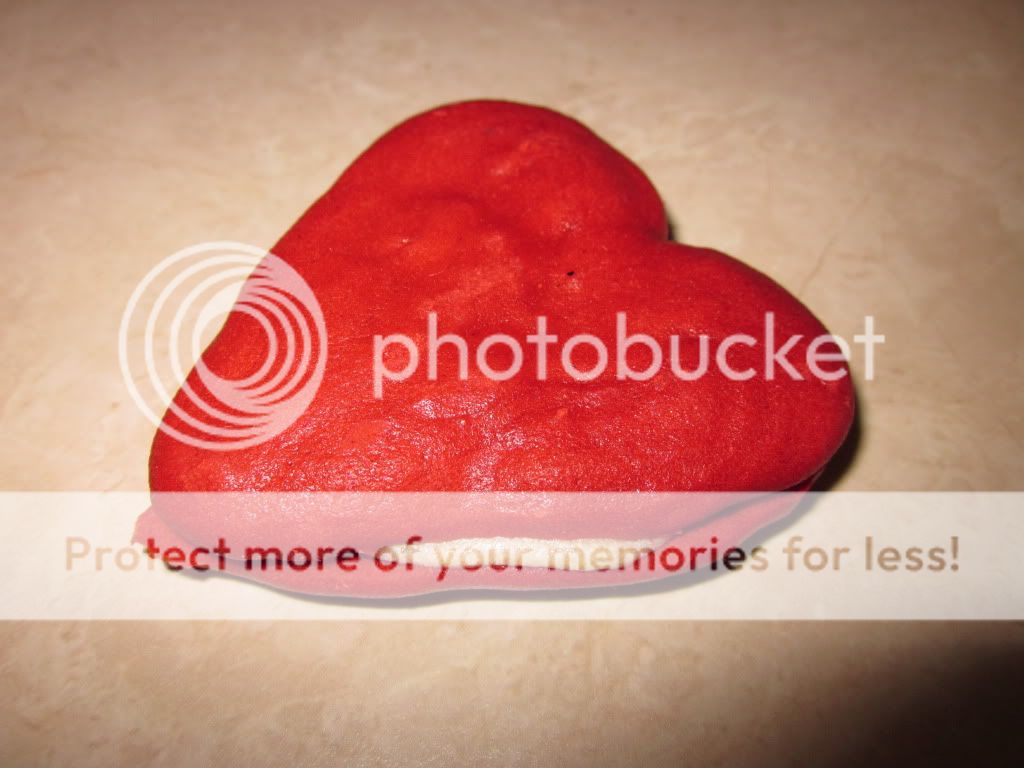
Once the biscuits had cooled I paired them all up with biscuits of the same shape/size. I then filled my tupperware piping container with the icing and piped it onto the flat side of half of the cookies before sandwiching the biscuits pair on top.
I was pretty happy with how my whoopie pies turned out, especially since it was the first time I've ever made them and also the first time I've made shaped cookies. I managed to get them all vaguelly heart shaped, even though they weren't absolutely perfect and most importantly my friends raved about them!
Recipe Source: Annie's Eats