Showing posts with label dessert. Show all posts

January 20, 2012

Australia Day

Australia Day is coming up on the 26th of January and I've already started thinking about what I want to make for it. The main reason being, it's actually my beautiful nephew Lenny's 1st birthday that day. Which of course means an Australian themed BBQ party! I've found so many recipes that I want to try but I've been able to narrow it down a bit to the following sweet treats. Aren't they just so clever and cute?! I'll post the recipes once I've made them and let you know how they went.

Caramel Laminton from Not Quite Nigella
 Koala Cupcakes from Blempgorf
Echidna Cupcakes from Yahoo Food


January 4, 2012

Baked Caramel Cheesecake with a Ginger-Pecan Crust

This was the other treat that I made for Christmas Day. It's a well loved recipe in my family and my Mum gets asked to make it all the time! I've never made it before, but when we were deciding who would make what for Christmas my sisters (practically begged) asked me to make it. I decided to mix things up a little by swapping the simple chocolate biscuit and butter crust for the lovely ginger pecan crust from this Pumpkin Cheesecake. And it really did work!

Ingredients:

Crust Ingredients:

1 cup plain flour
1/4 cup firmly packed brown sugar
1/8 cup pecans
1/4 tsp ground ginger
1/2 cup cold butter
1 tbsp cold water

Filling Ingredients:
500g cream cheese
2 eggs
200g caramel jerseys
1 tbsp water
2/3 cup cream

125g dark chocolate


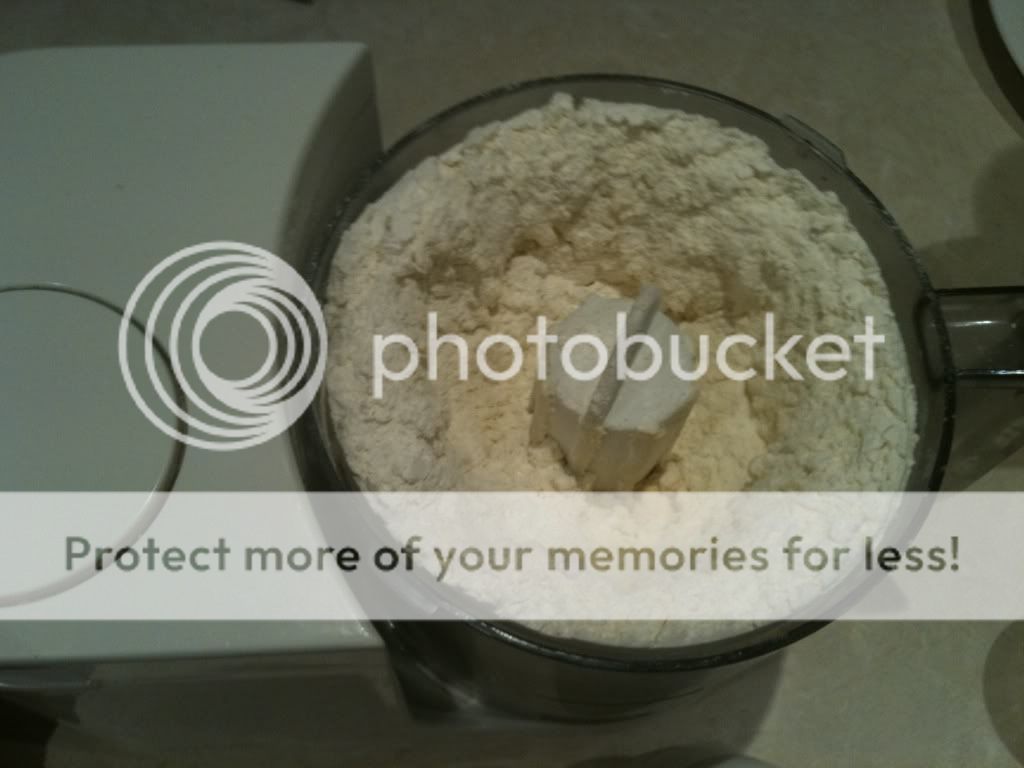
Preheat your oven to 180 degrees Celsius. Add the flour, brown sugar, salt, pecans and ginger to a food processor and blend until fine crumbs form.

Cut your cold butter into cubes and add to the food processor. Blend until crumbs form. Add the water and blend until the mixture comes together in clumps as a dough. Press the dough evenly into the bottom of a prepared spring form pan.

Bake for 25-30 minutes. Cool completely. Reduce your oven to 160 degrees Celsius.
To prepare the filling - mix the cream cheese in a mixer with a paddle beater until creamy. Add eggs and mix until combined.

Using a double saucepan melt the jersey caramels with 1 tbsp water.

Let the caramel cool a little before adding the cream and stirring. Add the caramel to the cream cheese and mix until combined. Pour the mixture over the base and cook for 50 minutes or until the middle of the cheesecake is set.

Remove cheesecake from the oven and allow to cool completely. Then over a double saucepan melt your dark chocolate. Once melted pour and spread the chocolate over the top of the cheesecake. Refrigerate until the chocolate is set.


Baked Caramel Cheesecake with Ginger Pecan Crust


Crust Ingredients:

1 cup plain flour
1/4 cup firmly packed brown sugar
1/8 cup pecans
1/4 tsp ground ginger
1/2 cup cold butter
1 tbsp cold water

Filling Ingredients:
500g cream cheese
2 eggs
200g caramel jerseys
1 tbsp water
2/3 cup cream

125g dark chocolate

Method:
1. Preheat oven to 180 degrees Celsius. Add flour, brown sugar, salt, pecans and ginger to a food processor and blend until the pecans are finely ground. Add cold butter and process until crumbs form. Add 1tbsp water and process in bursts until the dough starts to come together to form clumps. Press the dough evenly into the bottom of your prepared pan.
2. Bake for 25-30 minutes. Cool completely and reduce oven temperature to 160 degrees.
3. To prepare the filling, first add the cream cheese to the bowl of your mixer with a paddle beater, and mix until creamy. Add the eggs and mix further until combined.
4. Over a double saucepan melt the caramel jerseys with 1tbsp of water. Let the caramel cool a little before stirring in the cream. Add the caramel to the cream cheese and mix until combined. Pour the mixture over the crust and cook for 50 minutes, or until the middle of the cheesecake is set.
5. Once cooked, remove from the oven and allow to cool completely.
6. In a double saucepan, melt the dark chocolate and pour over the top of the cooled cheesecake. Refrigerate until the chocolate is set.


January 3, 2012

Individual Meringues with Lime Cream and Blueberries

Usually at Christmas I have free reign of what I cook, and I usually try to make something a little different, that my family might not have tried before. One year I baked a pumpkin pie, which for a lot of people out there is a regular addition to the Christmas or Thanksgiving feast, but for my family was the first time they'd tried pumpkin in a dessert form. Last year I cooked my first turkey which was a challenge for me, and also the first time my family had had a proper turkey (and not just the breast) served up at the dinner table. This year, though, my sister asked me to make a caramel cheesecake and some mini meringues with cream. I was more than happy to make both - I'd never actually made either before - but still didn't think either was that different, especially the meringues. So when I found this recipe for meringues with lime cream I jumped at the chance to make my meringues that little bit different and a little more special for Christmas. The addition of the lime curd to the cream made for a decadent treat, that was not only popular at our Christmas, but that would make a fantastic dessert for over the summer months.

Ingredients:
Individual meringue cups - I used premade ones
4 large egg yolks
1/2 cup caster sugar
6 tbsp lime juice
60g unsalted butter, cut into small squares
1 tsp grated lime zest
1 cup heavy cream
1. Set a sieve over a bowl and set aside. In a medium sized saucepan, whisk together the egg yolks and sugar until blended. Stir in the lime juice and butter, and cook over medium heat, whisking consistantly, until the mixture turns opaque and thickens enough to leave a path on the back of a wooden spoon when you draw your finger across it. 
2. Remove the pan from the heat and immediately strain the custard through the sieve, pressing it through with a rubber spatula. 
3. Stir in the lime zest. Set the mixture aside while you whip the cream. Or, if you're not ready to serve the meringues, refrigerate the mixture, covered, until ready to use.
4. Shortly before serving, in the bowl of an electric mixer, beat the heavy cream until medium-firm peaks form. Place the bowl of whipped cream in the refrigerator. 
5. If the lime mixture has not been refrigerated, set the bowl containing the lime mixture in a large bowl filled about one third of the way with ice water. Stir the mixture frequently until it is slightly cooler than room temperature, about 10 minutes.
6. Fold a large spoonful of the whipped cream into the lime base to lighten it. Gently fold in the remaining cream.
7. Spoon the lime cream into the meringue cups, dividing it evenly. Top each meringue with berries of your choice (I used blueberries).
Recipe Source:
Cookstr's recipe for
Individual Meringue Cups with Lime Cream and Fresh Berries

Individual Meringue Cups with Lime Cream and Blueberries


Ingredients:

Individual meringue cups - I used premade ones
4 large egg yolks
1/2 cup caster sugar
6 tbsp lime juice
60g unsalted butter, cut into small squares
1 tsp grated lime zest
1 cup heavy cream


Method:
1. Set a sieve over a bowl and set aside. In a medium sized saucepan, whisk together the egg yolks and sugar until blended. Stir in the lime juice and butter, and cook over medium heat, whisking consistantly, until the mixture turns opaque and thickens enough to leave a path on the back of a wooden spoon when you draw your finger across it. 

2. Remove the pan from the heat and immediately strain the custard through the sieve, pressing it through with a rubber spatula. 
3. Stir in the lime zest. Set the mixture aside while you whip the cream. Or, if you're not ready to serve the meringues, refrigerate the mixture, covered, until ready to use.


4. Shortly before serving, in the bowl of an electric mixer, beat the heavy cream until medium-firm peaks form. Place the bowl of whipped cream in the refrigerator. 
5. If the lime mixture has not been refrigerated, set the bowl containing the lime mixture in a large bowl filled about one third of the way with ice water. Stir the mixture frequently until it is slightly cooler than room temperature, about 10 minutes.
6. Fold a large spoonful of the whipped cream into the lime base to lighten it. Gently fold in the remaining cream.
7. Spoon the lime cream into the meringue cups, dividing it evenly. Top each meringue with berries of your choice (I used blueberries).


May 8, 2011

Apple and Raspberry Pie

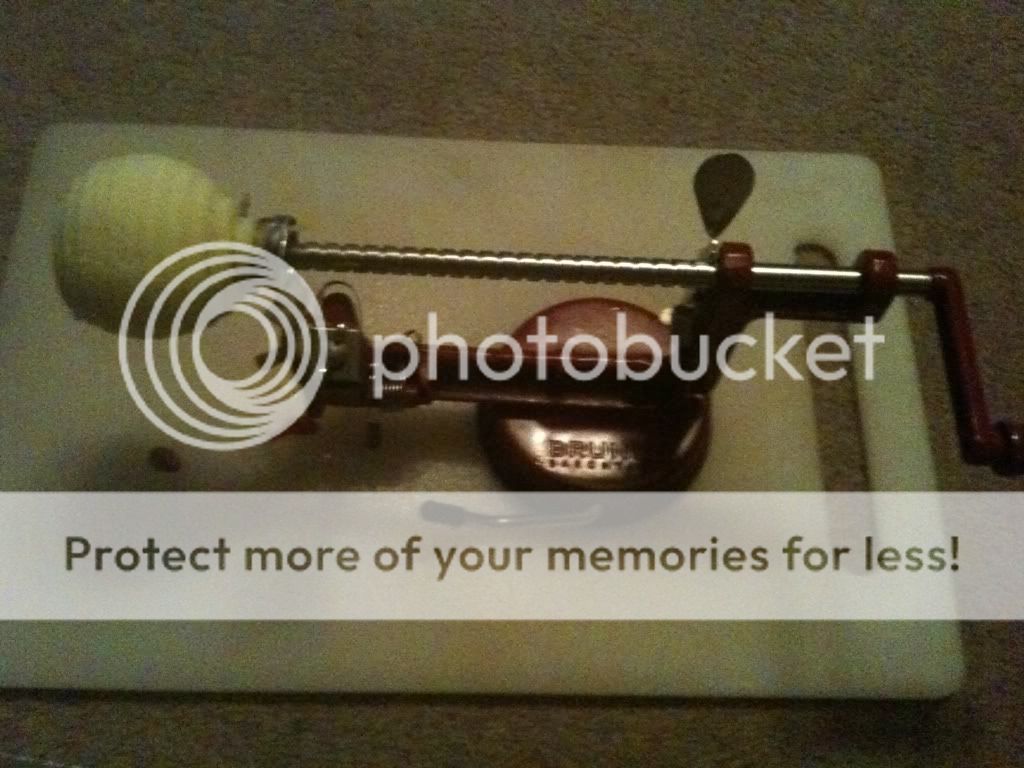
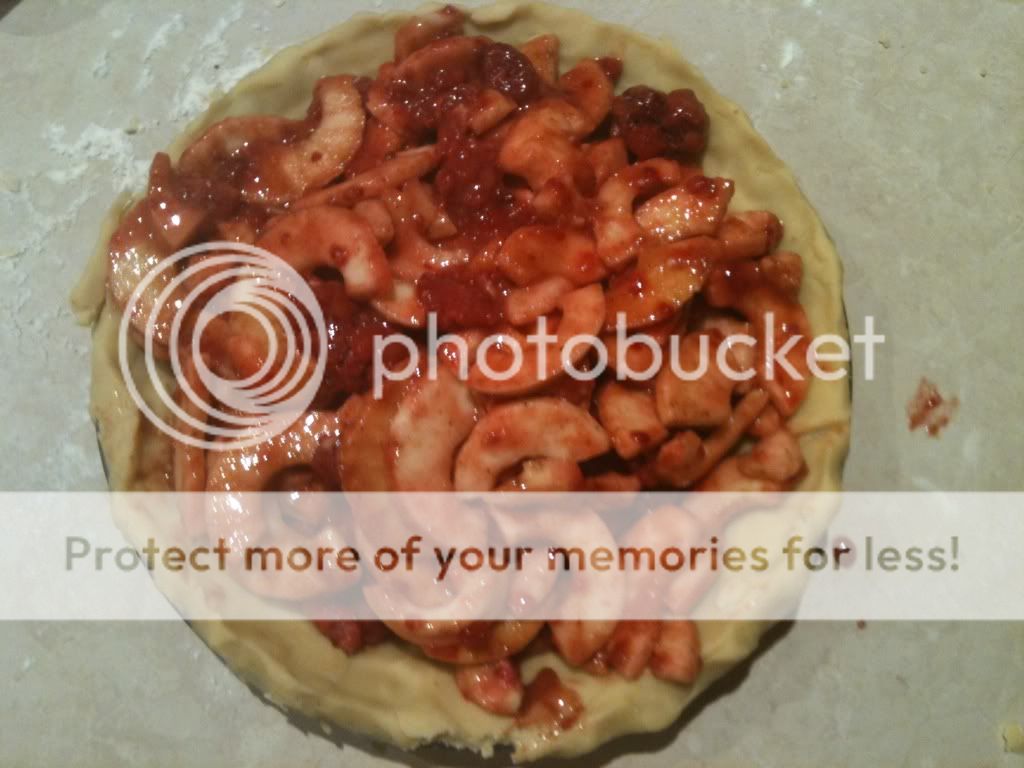
I have a confession to make. I don't like apples. Well, I don't like apples on their own. I love them in pies and cakes and apple flavoured things, but I don't like the feeling of biting into a whole apple. I don't know why, it's just something that's happened in the past few years. On the other hand my Dad absolutely loves apples, and in particular his favourite thing to do with them is to stew them and eat them with ice cream. The only thing is that he doesn't flavour them in any way, so he's pretty much just eating mushy apple. One of our neighbours has been feeding this habit (literally) by giving him boxes of apples from his trees, so I recently decided to surprise him with a proper apple pie. The recipe I followed for the pie was one I found through the Martha Stewart website and I found the recipe for the pastry in the Bourke Street Bakery cookbook.
Ingredients:
1 1/4kg apples, peeled, cored and cut into slices
170g fresh or partially thawed frozen raspberries
3/4 cup granulated sugar
1/4 cup plain flour, plus more for work surface
1 tbsp lemon juice
1 tsp cinnamon
1/2 tsp nutmeg
1/4 tsp ground cloves
Pinch of salt
2 tbsp butter, cut into pieces
1 egg yolk
1 tbsp heavy cream
For Sweet Shortcrust Pastry (Pate Brisee):
400g unsalted butter, chilled, cut into 1.5cm cubes
1 tbsp vinegar, chilled
100g caster sugar, chilled
2/3 cup water, chilled
665g plain flour, chilled
1 tsp salt
To make the pastry:
1. Remove the butter from the fridge 20mins before you start mixing - the butter should be just soft but still very cold so it doesn't melt through the pastry while mixing.
2. Put the vinegar and sugar in a bowl and add the water, stirring well. Set aside for 10 mins, then stir again to completely dissolve the sugar.
3. If you are mixing the dough by hand, mix together the flour and salt in a large bowl and toss through the butter. Use your fingertips to rub the butter into the flour to partly combine.
4. If you're using an electric mixer, put the flour and salt in the bowl of the mixer and add the butter, pulsing in 1 second bursts about three or four times to partly combine.
5. You should now have a floury mix through which you can see squashed pieces of butter. Turn out onto a clean work surface and gather together. 
6. Sprinkle over the sugar mixture and use the palm of your hand to smear this mixture away from you across the work surface (a pastry scraper is a useful tool to use for this step). Gather together again and repeat this smearing process twice more before gathering the dough again. You may need to smear once or twice more to bring it together - you should be able to see streaks of butter marbled through the pastry; this gives a slightly flaky texture to the final product.
7. Divide the dough into two even sized portions and shape into two round, flat discs about 2cm thick. Wrap each disc in plastic wrap and refrigerate for at least 2 hours or overnight. 
8. Remove the pastry from the fridge 20 mins before you wish to roll it. Sprinkle a little flour on the bench and rub a little flour over a rolling pin. Working from the centre of the pastry, gently roll the dough away from you, then turn the dough about 30 degrees and roll out again. Repeat this process until you have a flat round disc, about 3mm thick. Sprinkle extra flour over the bench and rolling pin as needed, but try to use it as sparingly as possible - if too much is absorbed into the pastry it will result in a dough with poor flavour and texture. Bear in mind that you are trying to flatten the pastry into a disc, not ferociously stretch it out in all directions as this will only cause the pastry to shrink excessively when baking.
9. Transfer the pastry to a tray and place in the refrigerator, covered in plastic wrap, for at least 2 hours to allow the gluten to relax.
10. Brush a round pie tin with a little butter. Place the pastry on top of the pie tin, ensuring it is in the centre and use your fingers to gently push the pastry into the tin, moving around the rim until all of the pastry has been inserted - you should have about 1 cm of dough hanging over the sides. Use your index finger and thumb to work your way around the edge, forcing the pastry into the tin so that little or no pastry is left protruding. Set the pastry (in the tin) aside to rest for at least 20 minutes in the freezer so that the gluten relaxes and holds its shape when you line it with foil.
11. Once the tart has been lined and rested, preheat the oven to 200 degrees Celsius. Line the pastry with a double layer of aluminium foil, making sure the foil is pushed well into the corners. Pour in some baking beads or uncooked rice to fill the case and bake for 20-25 minutes. This is called blind-baking ie. pre-baking the pastry before filling it to ensure the base is crisp and cooked through.  The baking time will vary considerably from oven to oven. When cooked properly, the pastry should have a golden colour all over, particularly in the centre, which tends to be the last part to colour and become crisp. The pie shell is now ready to be filled. 

To make the pie:
1. Preheat oven to 190 degrees Celsius. Stir apples, raspberries (I used frozen), sugar, flour, lemon juice, cinnamon, nutmeg, ground cloves and salt in a large bowl. Pour into your preprepared pastry shell. Dot with butter.
 2. On a lightly floured surface, roll out remaining disc of dough to 1/8 inch thick. Cut into a round suitable to the size of your pie shell. Drape over filling. Trim overhang to 1 inch. Press edges to seal. Fold overhang under, and crimp as desired. Make five 3 inch slits in top crust. Refrigerate 20 minutes.
3. Whisk egg yolk and cream in a bowl; brush over top crust. Sprinkle with sugar and cinnamon mix.
4. Bake until crust is golden and juices are bubbling, 1 hour 10 mins to 1 hour 20 mins. Place foil on rack below to catch juices. Tent pie with foil if browning too quickly. Transfer to wire rack.

Recipe Source:
Recipe for Apple Raspberry Pie from the Martha Stewart website.
Recipe for Sweet Shortcrust Pastry (Pate Brisee) from
the Bourke Street Bakery cookbook
Bourke Street Bakery: Ultimate Baking Companion [Paperback]

    April 27, 2011

    Lindt Chocolate Easter Cheesecake

    Easter for me, growing up, has always meant camping and lots and lots of chocolate. Year after year my parents would pack myself and my three sisters into the car and we'd drive up to the Murray River to camp amongst all the other tents lining the banks of the river. We always had so much fun, there were countless other kids to play with and I loved riding my bike around the dirt tracks and playing in the sand. The weather was always beautiful there with warm sunny days, and cold nights spent next to a huge warm fire. On Easter morning we'd always wake up to find piles of Easter eggs and bunnies at the end of our beds. While, after a while, our camping trips slowly died off - mainly due to the river becoming too crowded over the Easter period - the tradition of waking up on Easter morning to find the 'Easter Bunny' had visited never died off. In fact, just this Sunday I woke up to find a box of my favourite Lindt Stracciatella balls and a white chocolate Cadbury bunny sitting on my bedside table. Which was why, when my sister decided to have a family lunch at her house on Easter Sunday and asked me to make something for dessert, I immediately knew that I had to try to make something chocolatey and extremely decadent! And this recipe that I found, for a Lindt chocolate Cheesecake fit both of those categories. 
    Ingredients:
    1 pack chocolate biscuits
    575g cream cheese
    1 tsp vanilla
    100ml cream
    4 eggs
    80g unsalted butter, melted
    50g sour cream
    200g Lindt 70% Cocoa
    140g Caster Sugar
    pinch sea salt
    6 Lindt Gourmet Eggs
    6 Lindt Lindor Balls
    To make:

    1. Preheat the oven to 120ÂșC
    2. For the base, place biscuits in a food processor and blend until ground reasonably fine. Mix in enough melted butter for mixture to just bind together, press evenly over base of lightly greased tin and smooth it with the back of a spoon. Set aside.
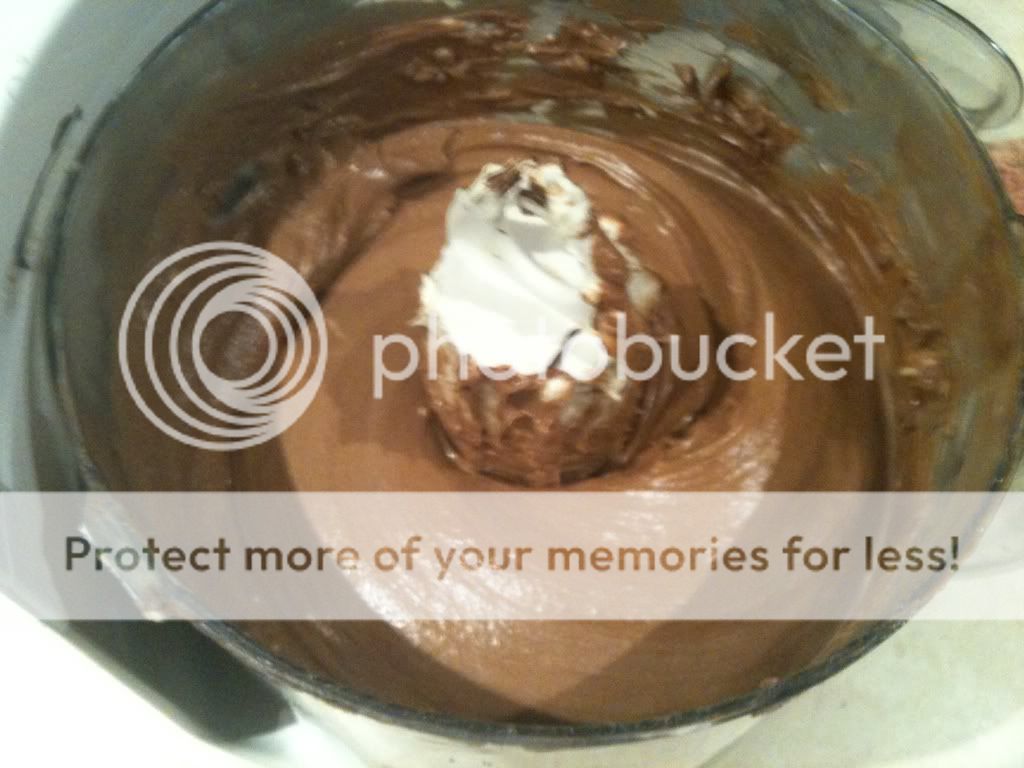
    3. For the cheesecake mixture, place cream cheese into an electric mixer and mix until softened. Once the cheese is softened, mix in the sour cream and sugar, continue mixing until smooth.
    4. Place cream into a saucepan and gently bring to the boil, remove from heat once boiling. Break up the chocolate and mix into cream, stir until melted and set aside to cool slightly.
    5. Mix chocolate into the cheese mixture and once again scrape down sides.
    6. Add eggs one at a time, mixing well after each addition.
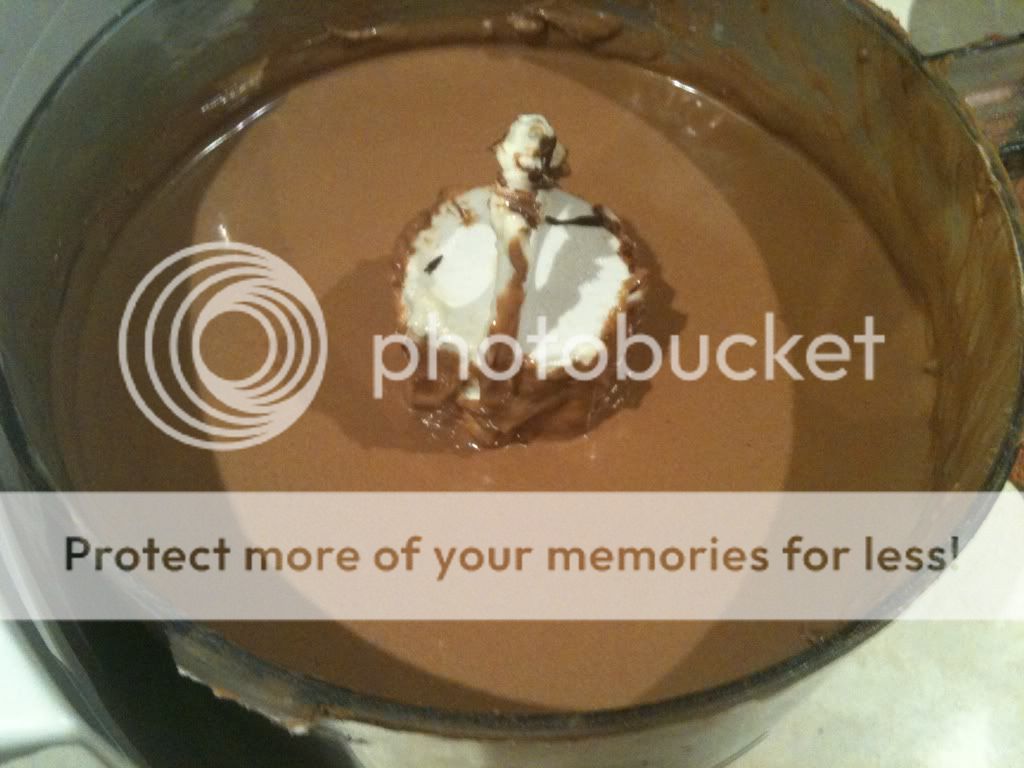
    7. Pour enough cheesecake mixture into the springform to cover the base.
    8. Unwrap the gourmet eggs and the Lindor balls and arrange Lindor in a circle in the centre with a circle of gourmet eggs surrounding the Lindor.
    9. Gently cover Lindor and eggs with a little cheese cake mixture and lightly tap springform to avoid air pockets.
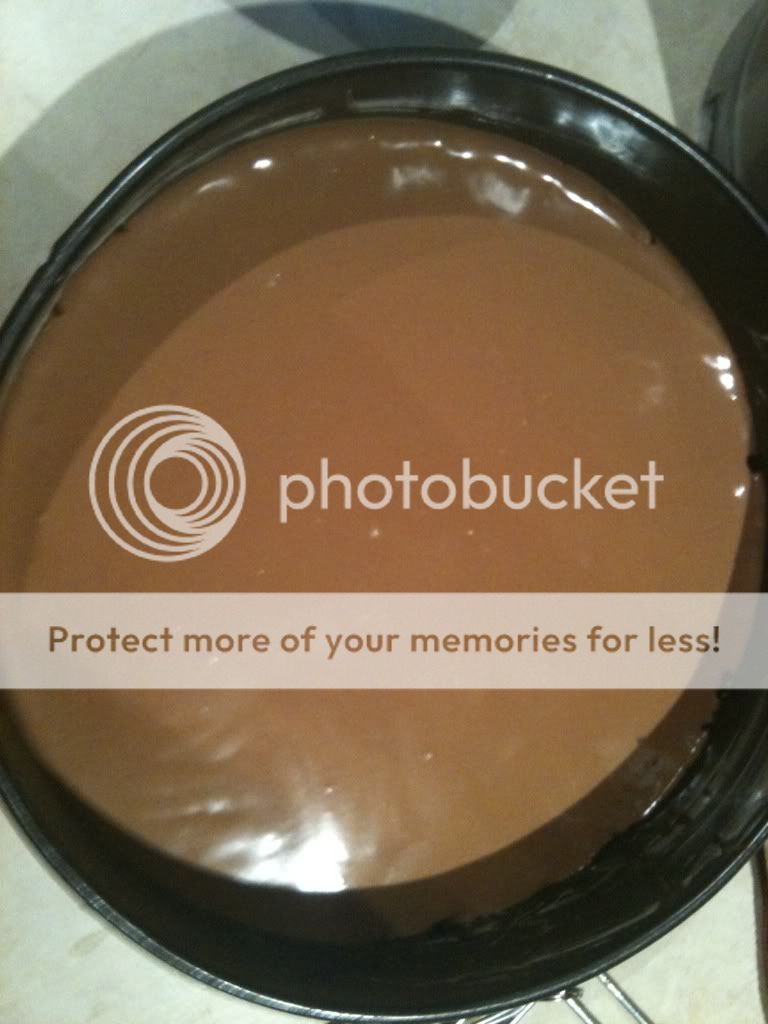
    10. Pour in remaining cheesecake and once again lightly tap
    11. Place springform into a deep baking tray and pour about 2 cm deep hot water into the base of the tray. This will aid the cooking process and prevent the cake from becoming dry and crumbly.
    12. Bake cheesecake for approximately 60 minutes. The cake is ready when it is set on the sides but remains slightly soft in the centre.
    13. Completely cool cake in the springform tin.
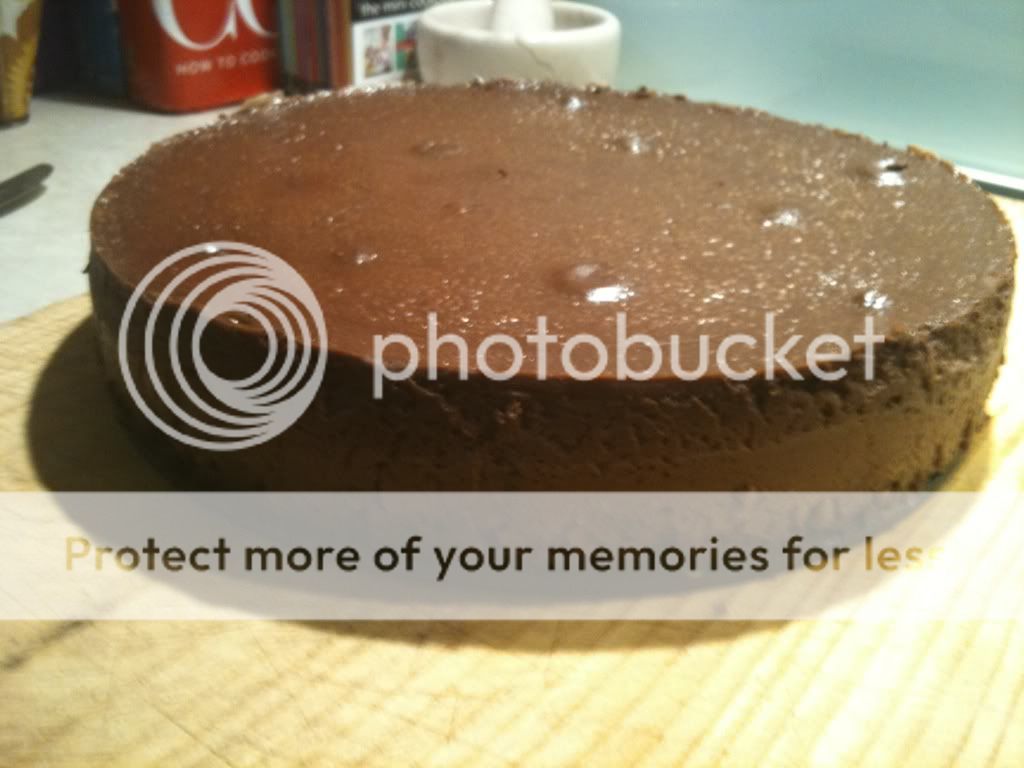
    And here's the finished product. Let me just say....this cheesecake was delicious! I've never actually tasted a chocolate cheesecake before this one, but it was so smooth and rich and the Lindt balls just added that little bit more decadence! I went to the Lindt store in Melbourne the day before Easter Sunday to buy the Lindt balls and eggs but they didn't have any eggs left so I just used all Lindor balls. I got a couple of different flavours though - some milk chocolate, some milk/white ones and some cookies and cream. Delish!
    Recipe Source:
    Yahoo Food
    Lindt Easter Cheesecake

    February 24, 2011

    Heart shaped Red Velvet Whoopie Pies

    I'm not big on Valentines Day. I'm actually one of those people who usually scoff at it. But I think it's just because I don't have a partner, and deep down I know that if I did I'd probably love v-day (as I call it) if I had a partner. lol I know, I'm fickle. But this year, a friend of mine asked me if I wanted to help her organise a picnic with our other girl friends for Valentines Day. And I jumped on the bandwagon. I love picnics and it was a great excuse to catch up with the girls. I was originally going to make the Conversation Heart Cookies from Annie's Eats but couldn't find all the tools I needed to do the icing on the cookies in time. So instead I chose another great looking recipe from the same website - Red Velvet Whoopie Pies.
    For the biscuits:
    2 cups flour
    2 tbsp cocoa
    ½ tsp baking powder
    ¼ tsp salt
    8 tbsp unsalted butter, at room temperature
    1 cup brown sugar, packed
    1 egg
    1 tsp vanilla
    ½ cup buttermilk
    25ml red food coloring
    For the icing:
    225g cream cheese
    5 tbsp unsalted butter, at room temperature
    2 tsp vanilla extract
    2½ cups confectioners’ sugar, sifted

    First I used a heart cookie cutter that I'd purchased to make the cookies with, and traced around it on baking paper to make my heart templates. The baking paper then had to be placed pencil side down on the baking tray. The heart shapes were still visible through the paper.
    To make the biscuits, I mixed together all the dry ingredients (except the sugar) in one bowl and then in a seperate bowl I creamed together the butter and sugar. To this butter mixture I beat in the egg and then stirred in the vanilla. I then alternated between adding and stirring in a third of the dry ingredients and half of the buttermilk until both were all used up. And lastly I added in the red food colouring. I didn't have any gel colours so I had to use the liquid food colouring. I ended up using half a bottle which made a beautiful, vibrant red colour.
    Next came the hardest part for me. I had to put the mixture for the biscuits into a piping bag (I had a tupperware version) and squeeze it out onto the baking tray using the heart shape templates I'd drawn earlier. I'm not sure if it was the tip I was using (I didn't have a plain one to use) or the fact that I'd had no practise doing this but most of my biscuits ended up heart-ish shaped, and some ended up being bigger than others.
    The biscuits then went into a 190 degree Celsius oven for 9 minutes before being transferred onto a cooling rack.
    While the biscuits were cooling I decided to make the icing so it was ready to go when I needed it. To make this I beat the cream cheese and butter together, before mixing in the vanilla and then gradually adding and beating in the icing sugar.
    Once the biscuits had cooled I paired them all up with biscuits of the same shape/size. I then filled my tupperware piping container with the icing and piped it onto the flat side of half of the cookies before sandwiching the biscuits pair on top.
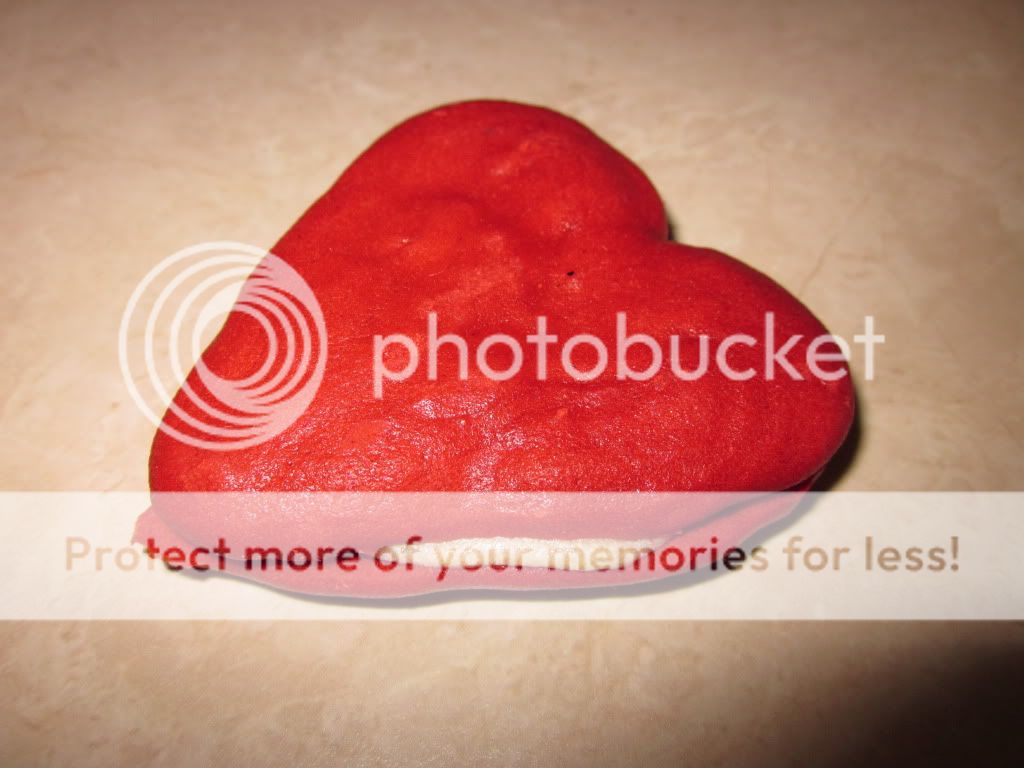
    I was pretty happy with how my whoopie pies turned out, especially since it was the first time I've ever made them and also the first time I've made shaped cookies. I managed to get them all vaguelly heart shaped, even though they weren't absolutely perfect and most importantly my friends raved about them!

    Recipe Source: Annie's Eats

    January 5, 2011

    White Chocolate Mousse cups

    Something else I was in charge of for Christmas was to make a couple of desserts. My Mum was making the Christmas pudding, so we basically needed a couple of small options for those people who aren't really into pudding (like myself). Because I was making the turkey (as you can see in the previous post) I decided to make these desserts quick and easy so I didn't have to spend too much time worrying about them. The first one that I decided to make was White Chocolate Mousse. I'd made this recipe before a couple of times and know that except for the time it takes for the mousse to set in the fridge (a couple of hours at the most) it's a really quick and easy recipe to make. I got the recipe from my sister, although I'm not sure where she got it from.
    Ingredients:
    150g white chocolate
    2 cups cream
    3 tbsp water
    2 tsp gelatin

    1. Mix water and gelatin in a small bowl and let stand until the water is absorbed.
    2. Over a double saucepan heat cream and white chocolate until chocolate is melted and both are combined
    3. Pour gelatin mixture into white chocolate and cream and whisk for 3 minutes
    4. Pour mixture into bowls/ramekins/glasses and refrigerate until set.

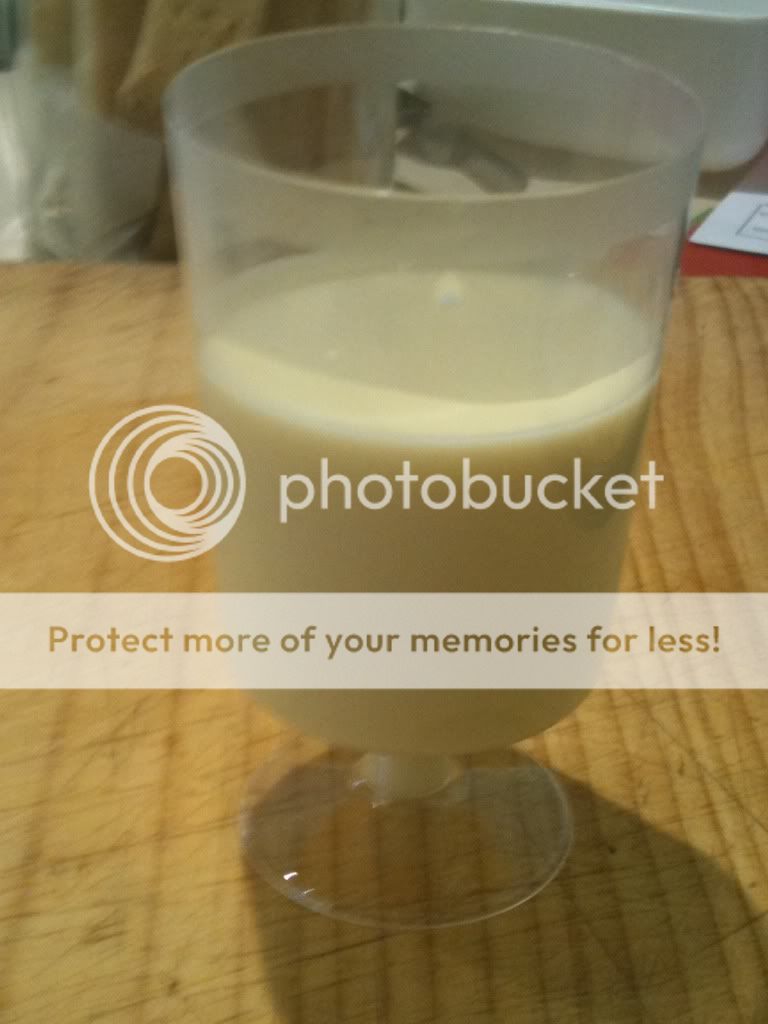
    This was definitely a crowd favourite on Christmas day. My brother in law and a couple of others went back for seconds and thirds! It's a very rich and very tasty dessert so small serves are probably enough for most people. I found tiny little wine glasses in the local party supplies shop and ended up making 19 of them, although I did need to triple the mixture to get that amount of little cups filled. And although I didn't take a picture of it, I also added a couple of raspberries on top of each mousse to make them a bit more festive. 

    share post

    Facebook